Ever tried to rotate or scale a layer in After Effects, only to have it spin or resize from an awkward spot? That’s all down to the anchor point. Think of the anchor point as the layer’s pivot—the central spot around which all movement and scaling happens. If it’s not where you want it to be, your animation won’t look right.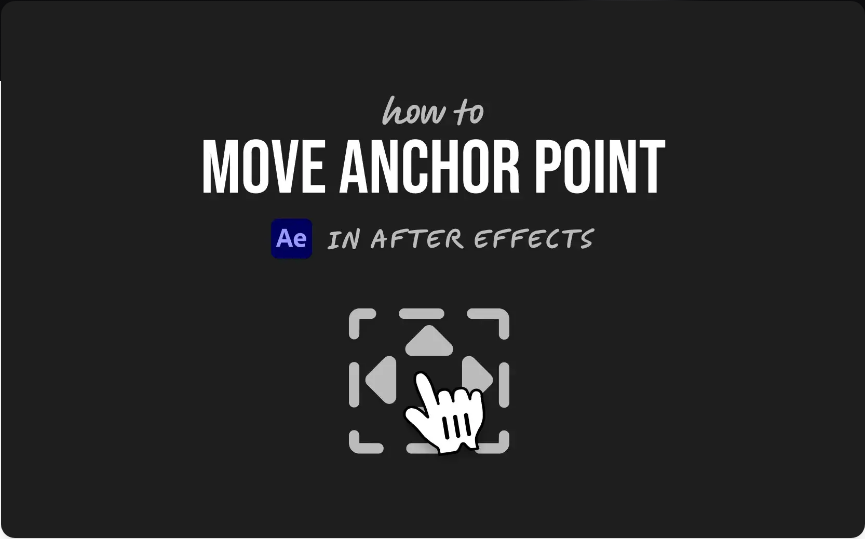
The good news? Fixing it is simple. Here’s how to adjust the anchor point correctly—without moving your whole layer.
Step 1: Select the Layer
Choose the layer you want to edit from the timeline. It can be anything: text, a shape, an image, or even a pre-composed layer. Just make sure it’s selected before you continue.
Step 2: Switch to the Pan Behind Tool
● This tool is your best friend for this task.Press Y on your keyboard (works for both Mac and Windows)
●Or select the Pan Behind Tool (the icon with a crossed-arrow cursor) from the toolbar
Using this tool ensures you only affect the anchor point—not the layer’s position.
Step 3: Reposition the Anchor Point
Now click and drag the anchor point (you’ll see it as a small crosshair circle) to wherever you need it. You can place it at the center of an object, near the edge for a bounce effect, or even outside the layer for more unusual animations.When you’re done:
●Press V to go back to the Selection Tool
●Start animating with your newly placed anchor point
Bonus: Speed Things Up with a Free Script
If you frequently adjust anchor points, a free tool like the Anchor Point Mover script can be a huge time-saver. It supports all layer types—video, shapes, text, solids—and lets you snap the anchor into place with one click.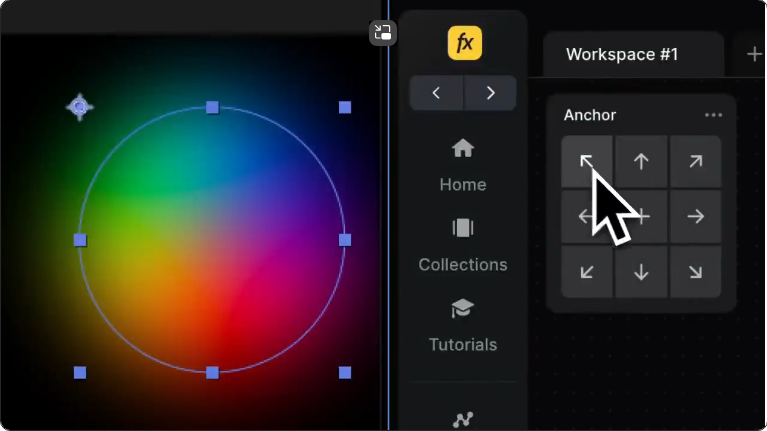
You can even reposition the anchor after setting keyframes without messing up your existing animation. It also works seamlessly with shape layers, keeping everything aligned.
Frequently Asked Questions
How can I freely move the anchor point?
Use the Pan Behind Tool (press Y), then click and drag the anchor point in the Composition panel. Your layer will stay in place—only the anchor moves.
What’s the easiest way to change an object’ center point?
The anchor point controls the center of transformation. Select the layer, press Y, and drag the anchor to your desired location.
How do I adjust the anchor without moving the layer?
Always use the Pan Behind Tool. This lets you change only the anchor point and keeps the layer’s position unchanged.
How is the anchor point moved in Adobe After Effects?
Select your layer, activate the Pan Behind Tool (press Y or select it from the toolbar), then click and drag the anchor point to reposition it.