How to Use Adjustment Layers in Adobe Premiere Pro (3 Simple Steps)
If you’ve ever needed to apply the same color grade or effect across multiple clips at once, adjustment layers are about to become your new best friend. Think of them as clear overlays that affect everything below them—without altering your original footage.
Here’s how to create and use adjustment layers in Premiere Pro quickly and easily.
1. Create an Adjustment Layer
First, you’ll need to create a new adjustment layer directly in your project.
1.Navigate to your Project Panel (where all your clips and assets are stored).
2.Click the New Item button at the bottom (it looks like a folded page).
3.Choose Adjustment Layer from the menu.
4.A dialog box will appear—click OK (the default settings almost always work).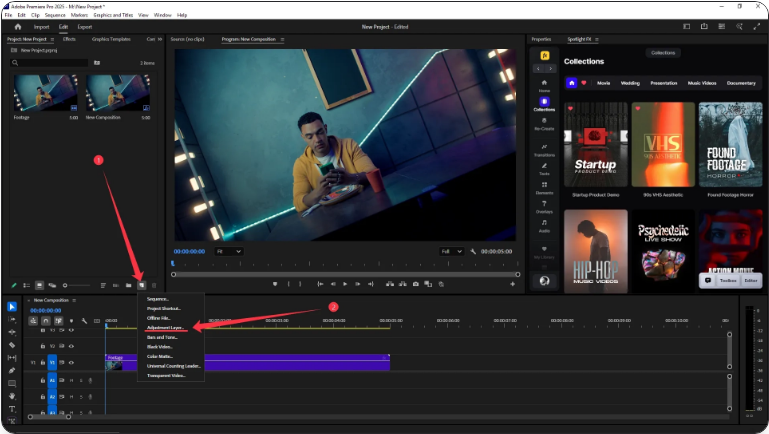
Your new adjustment layer will now appear in the Project Panel, ready to use.
2. Place It on Your Timeline
Once created, simply drag the adjustment layer from the Project Panel onto your timeline.
1.Drop it onto a video track above all the clips you want to affect.
2.Adjust the length so it covers the clips you want to modify.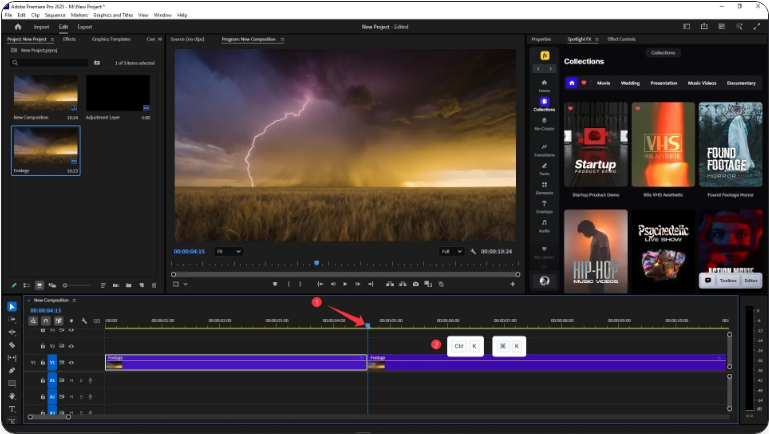
You can think of it like a filter that applies to everything underneath it.
3. Apply Your Effects
This is where the magic happens.
1.Select the adjustment layer in the timeline.
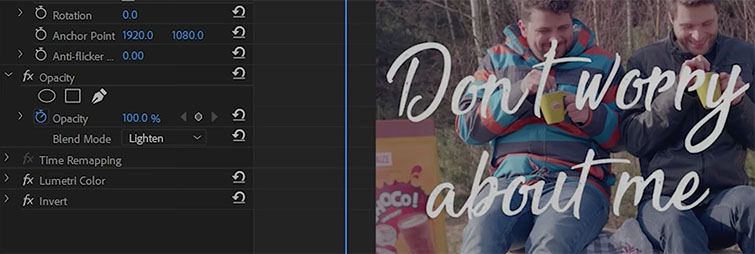
2.Open the Effects Panel, choose an effect—such as Lumetri Color or Gaussian Blur—and drag it onto the adjustment layer.
3.Customize your effect in the Effect Controls Panel as you normally would.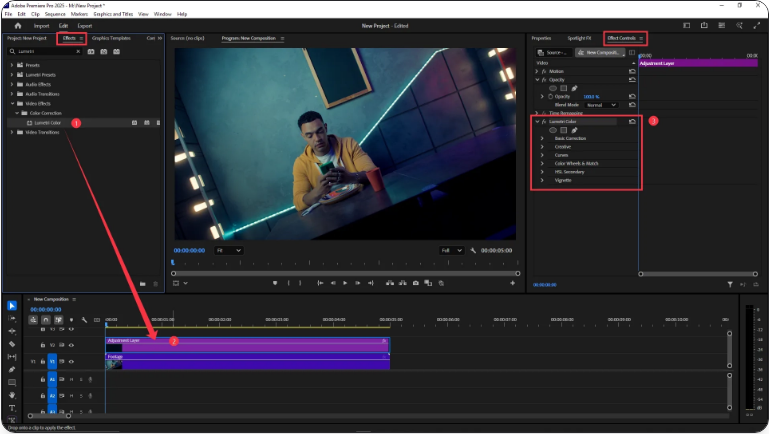
Now every clip below the adjustment layer will reflect those changes. It’s that easy to apply unified effects across multiple clips!
Conclusion
Adjustment layers are a game-changer for efficient editing. Whether you’re color grading, adding blur, or applying any other effect consistently across several clips, this tool saves time and ensures uniformity. Once you start using them, you’ll wonder how you ever edited without them.
Frequently Asked Questions
How do I add an adjustment layer in Premiere Pro?
Go to the Project Panel, click the New Item icon, select Adjustment Layer, and click OK. Then drag it to a track above your video clips and apply any effects you like.
Is “Adobe Pro” the same as Premiere Pro?
Yes, “Adobe Pro” typically refers to Adobe Premiere Pro. The process for creating and using adjustment layers is the same.
What’s the keyboard shortcut for an adjustment layer?
There isn’t a default keyboard shortcut, but you can create one. Go to Edit > Keyboard Shortcuts, search for “Adjustment Layer,” and assign your preferred key combination.
How do I add an overlay in Premiere Pro?
Import your overlay asset (e.g., a light leak or texture), place it on a track above your video, and change its Blend Mode (in Effect Controls) to Screen, Overlay, or another mode that fits. Adjust opacity as needed.