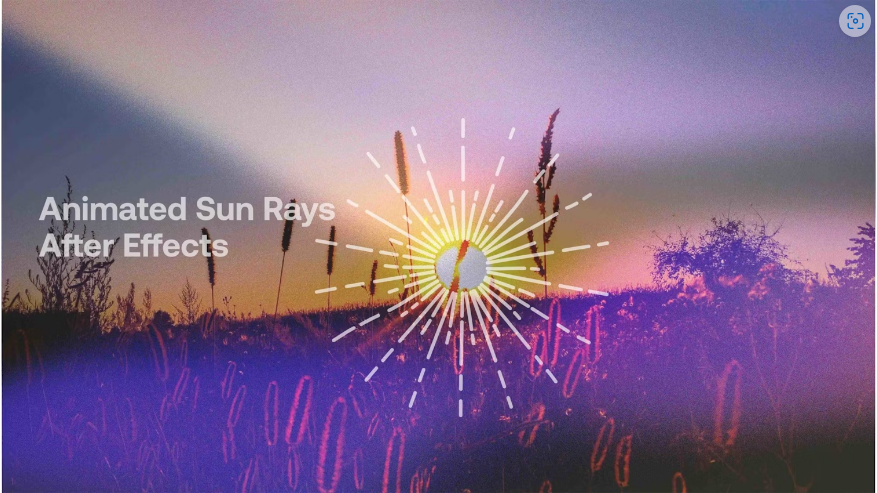
Adobe After Effects is a powerful tool for creating dynamic, eye-catching animations. However, with so many features available, it can be tricky to figure out how to achieve specific effects. In this guide, we’ll walk you through creating beautiful animated sun rays from scratch. Pay close attention—these techniques can be applied to many other animation projects!
Part 1: Building an Animated Sun Step by Step
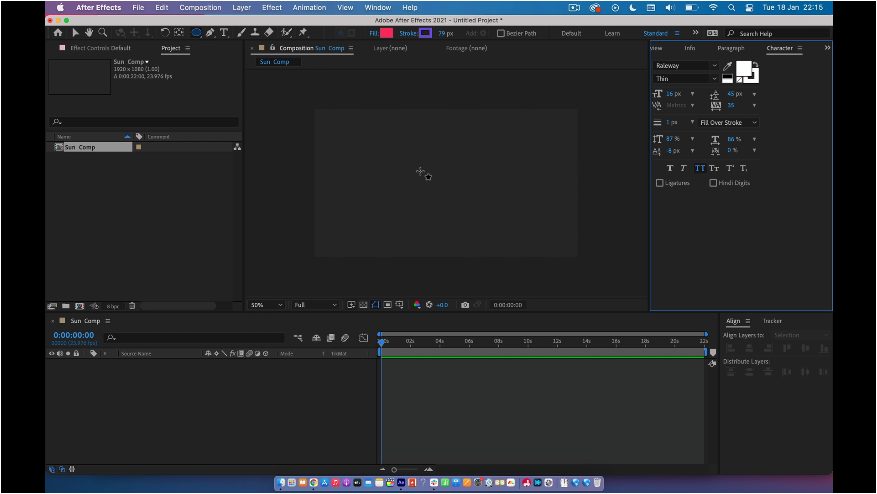
Most animations in After Effects start with shape layers. While you can import shapes from Illustrator or Photoshop, we’ll create ours directly in After Effects for this tutorial.
Step 1: Crafting a Single Sun Ray
Instead of using keyframes, we’ll animate the rays using expressions for smooth, continuous motion.
1. Create the Sun’s Core
● Use the Circle Tool to draw the center of your sun in the Composition panel.
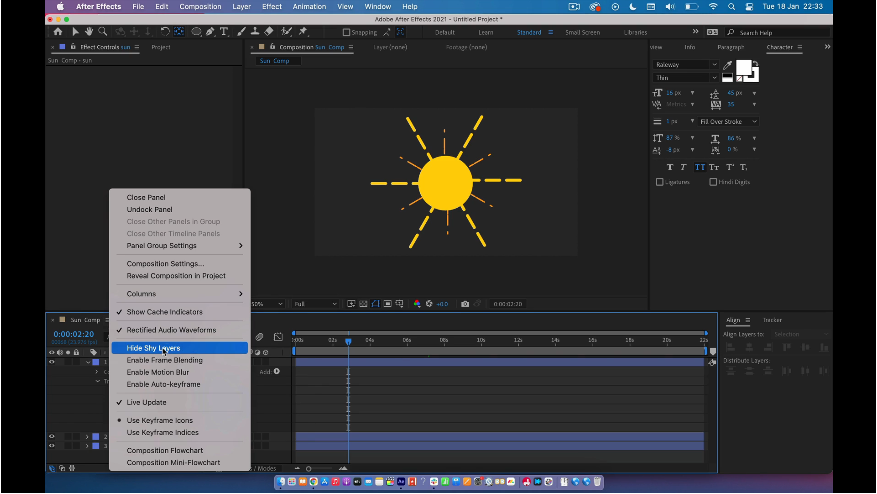
● Rename the layer for better organization by right-clicking it in the Layers panel.
● Click the Grid icon at the bottom of the Composition panel and select your preferred grid style.
2. Draw the First Sun Ray
● Select the Line Tool and draw a straight horizontal line from the sun’s center outward. Hold Shift to keep it perfectly straight.
● In the Line settings, remove the Fill and adjust the Stroke width and color to achieve a bold ray effect.
3. Add Motion with Dashes & Expressions
● Under Dashes, click the + button twice.
● Set Dash to 100 and Gap to 50.
● Hold Alt and click the Offset stopwatch, then type `time*-150` in the Expression box to create continuous movement.
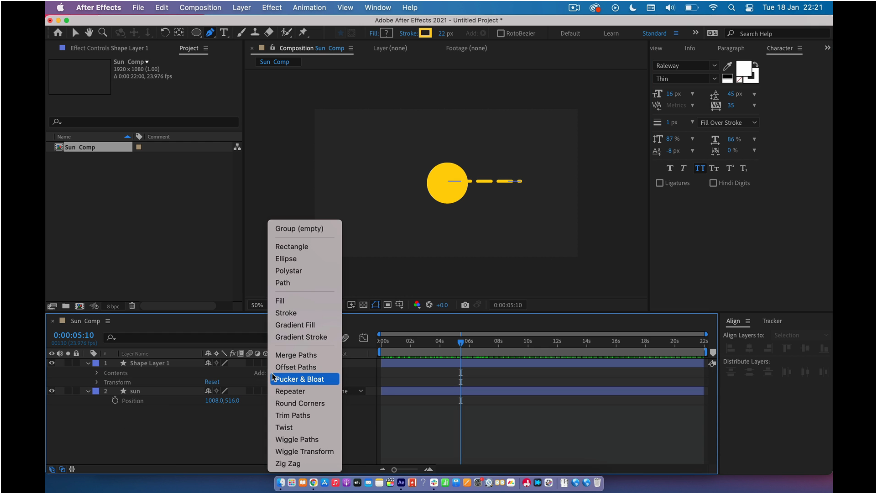
Step 2: Duplicating Rays with the Repeater
Manually copying and rotating rays would be tedious—instead, we’ll use the Repeater for efficiency.
1. Apply the Repeater Effect
● In the Add menu for your Ray layer, select Repeater.
● Set Copies to 6, X Position to 0, and Rotation to 60 to evenly space the rays.
2. Add a Secondary Ray Layer
● Duplicate the Ray layer (Cmd/Ctrl + D) and modify it for variation.
● Reduce the Stroke width to 10, change the color, and shorten the line.
● Add two more dashes, setting Dash 1 to 70, Dash 2 to 30, and both gaps to 50.
● Update the Offset Expression to `time*250` and adjust the Rotation to 30°.
● Move both Ray layers below the sun in the layer stack.
Step 3: Animating the Entire Sun
To make the sun rotate smoothly, we’ll use the Pick Whip to link all rays to the center.
1. Link Rays to the Sun
● Select both Ray layers and use the Pick Whip to attach them to the sun layer.
● Open the sun’s Transform settings, hold Shift, and click the Rotation stopwatch.
● Enter `time*10` in the Expression box (adjust the value to control rotation speed).
Part 2: 4 Essential Tips for Mastering After Effects Animations
Following tutorials like this helps you learn specific effects while picking up valuable techniques. Motion Array offers countless guides—from Cinematic Titles to Retro Effects. Here are our top tips for improving your animation skills:
1. Experiment with Settings
While tutorials provide exact steps, don’t hesitate to tweak values afterward. Adjusting stroke widths, colors, and expressions can lead to unique results.
2. Save Your Test Projects
Building a library of effects saves time in future projects. For example, a well-crafted title animation can be reused across multiple videos.
3. Challenge Yourself
After Effects has a steep learning curve, but pushing yourself to try new styles accelerates growth. Seek tutorials that introduce fresh techniques each time.
4. Join an Animation Community
Tutorials are great, but sometimes you need human help. Platforms like Reddit and Facebook groups offer support, feedback, and inspiration from fellow animators.
●–
Final Thoughts
In this tutorial, we created an animated sun while exploring expressions, repeaters, and the Pick Whip—techniques applicable to countless projects. Want to dive deeper into expressions? [Check out this handy cheatsheet](link) for useful code snippets!