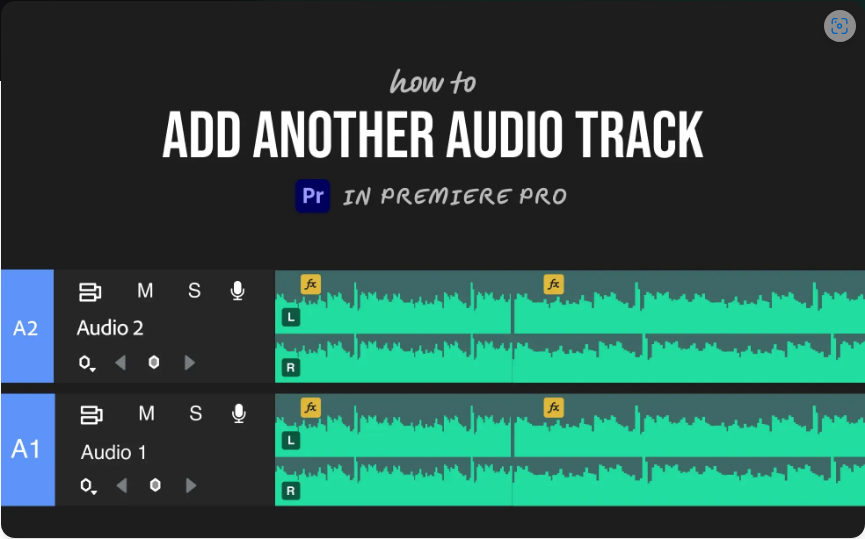
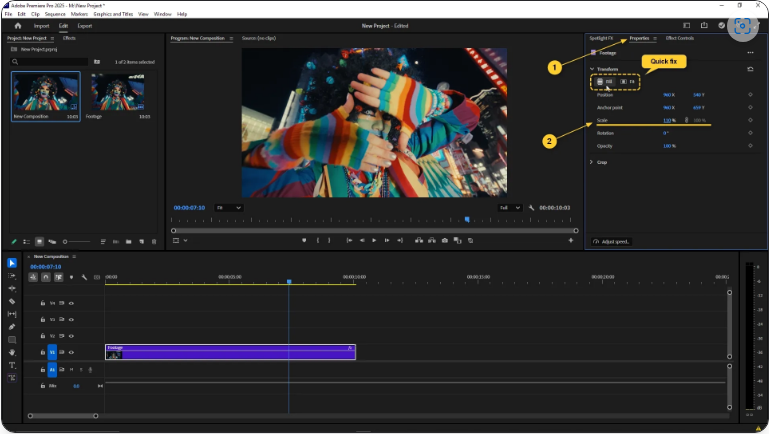
How to Add an Extra Audio Track in Premiere Pro (3 Simple Steps)
Want to layer a voiceover, background music, or sound effects into your project? Adding another audio track in Adobe Premiere Pro is quick and hassle-free. Follow these steps to expand your timeline without disrupting your existing edits.
Step 1: Right-Click in the Timeline Panel
Start by navigating to your timeline, where all your clips are assembled.
1. Right-click in the empty gray area on the left side (where audio track labels like A1, A2 appear).
2. Select “Add Tracks…” from the dropdown menu.
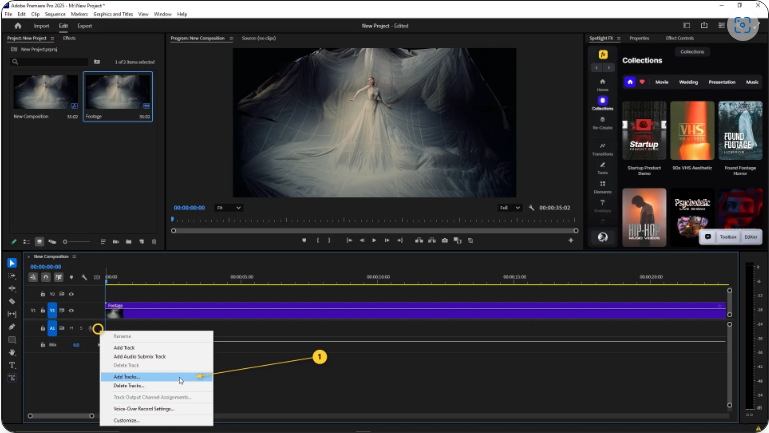
A pop-up window will appear, allowing you to add multiple video or audio tracks at once. Alternatively, you can quickly insert a single track by clicking “Add Track.”
Step 2: Specify the Number of Tracks
In the Add Tracks dialog box:
1. Under Audio Tracks, enter how many new tracks you need.
2. Keep the Placement option as “After Last Track” (default) unless you need a different arrangement.
3. Click OK to confirm.
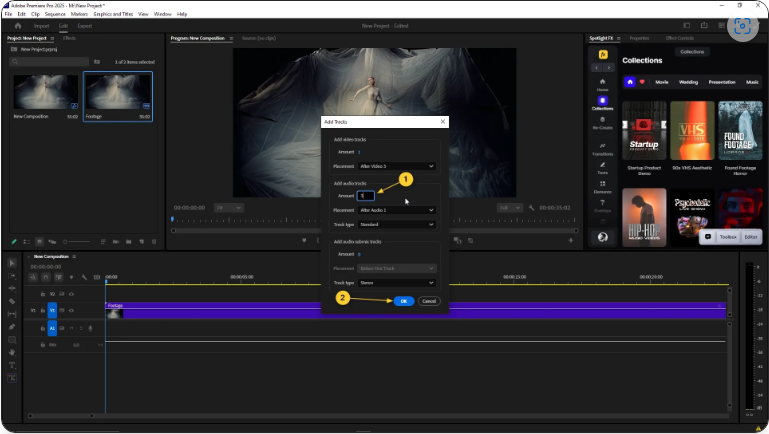
That’s it—your new tracks will appear in the timeline, ready for use.
Step 3: Import and Drag Your Audio Files
Now, simply drag and drop your audio clips from the Project panel onto the new tracks.
Need to import more files? You can:
● Go to File > Import
● Or use the shortcut Ctrl+I (Windows) / Cmd+I (Mac)

Once imported, position your audio wherever you’d like on the timeline, adjusting for perfect synchronization.