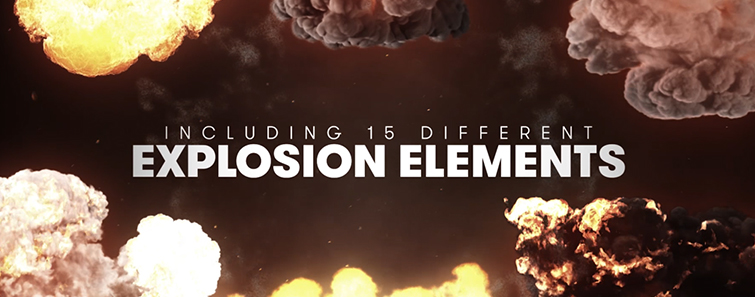
If you’re diving into After Effects, chances are you’ll want to create an explosion effect at some point. Whether you’re working on an action sequence, a dynamic title reveal, or just experimenting with motion graphics, explosions add energy and impact to your projects. The best part? You don’t need any plugins—this tutorial covers how to build a 2D explosion entirely within After Effects. Plus, we’ll explore how to enhance it with assets from the Motion Array library. Let’s get started!
Part 1: Building a 2D Explosion from Scratch
Step 1: Setting Up the Particle System
1. Create a 1920×1080 composition and add a new solid layer (color doesn’t matter yet).
2. Apply Effect > Simulation > Particle Systems II.
3. At the start of the timeline, adjust these settings in the Effects Controls panel:
● Birth Rate: Keyframe at 0.
● Longevity: Set to 3.5.
● Radius X & Y: Set both to 0.
● Physics Section:
● Velocity: Keyframe at 0.
● Gravity: Set to 0.
● Resistance: Keyframe at 4.7.
● Direction: Set to 0.
● Particle Settings:
● Particle Type: Choose Lens Convex.
● Birth Size: Keyframe at 0.
● Death Size: Keyframe at 0.
● Size Variation: 100%.
● Max Opacity: 100%.
● Random Seed: Set to 430 (this ensures a unique pattern).
Step 2: Animating the Explosion
4. Move 4 frames forward in the timeline and adjust:
● Birth Rate: 22
● Velocity: 3.1
● Resistance: 199
● Birth Size: 0.58
5. Move 2 more frames (6 total) and set:
● Birth Rate: Back to 0 (right-click the keyframe and Easy Ease it).
● Resistance: Apply Easy Ease In to the second keyframe.
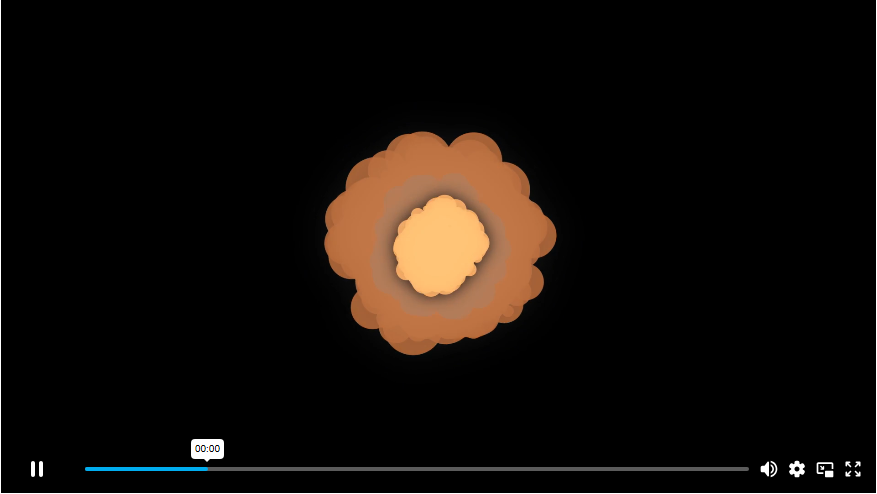
At this point, you should see particles burst outward before fading away. Experiment with Longevity, Velocity, and Random Seed to tweak the explosion’s behavior.
Step 3: Polishing the Effect
6. Add Color & Glow:
● Apply Generate > Fill to change the explosion’s color.
● Keyframe the Color over 18 frames (e.g., bright orange fading to gray).
● Add Stylize > Glow:
● Glow Threshold: 10%
● Glow Radius: 100
● Glow Intensity: Start at 0.6, then fade to 0.
7. Layer for Depth:
● Duplicate the explosion layer, change the Random Seed, and scale it down.
● Adjust the color (lighter shades work well).
● Repeat for a third layer, creating a multi-stage explosion.
8. Final Touches:
● Enable Motion Blur for smoother movement.
● Experiment with timing, opacity, and blending modes for different looks.
Part 2: Enhancing Your Explosion with Motion Array
Once your base explosion is ready, take it further with Motion Array’s assets:
● Smoke Elements: Add realistic smoke from green-screen footage.
● Sound Effects: Import an explosion SFX and sync it with your animation.
● Drag the audio into your timeline and align it with the visual burst.
● Pre-made Assets: Browse cartoon explosion packs for quick alternatives.
Final Export & Creative Possibilities
When you’re satisfied, render your explosion with:
● A solid background for standalone use.
● A transparent background (Alpha Channel) for compositing over other footage.