Blur effects are a sleek and simple way to enhance title transitions, graphics, and video clips in After Effects. With multiple blur options available, you can easily create professional, cinematic text animations. In this guide, we’ll walk you through different methods for blurring text and highlight some top-tier templates to speed up your workflow.
Part 1: Basic Text Blur Effect (Step-by-Step Tutorial)
The easiest way to blur text in After Effects is using the Gaussian Blur effect. Here’s how:
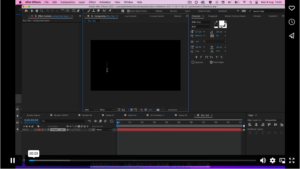 1. Create a New Composition and add your text using the Text Tool (T). Customize the font, weight, and color in the Character Panel.
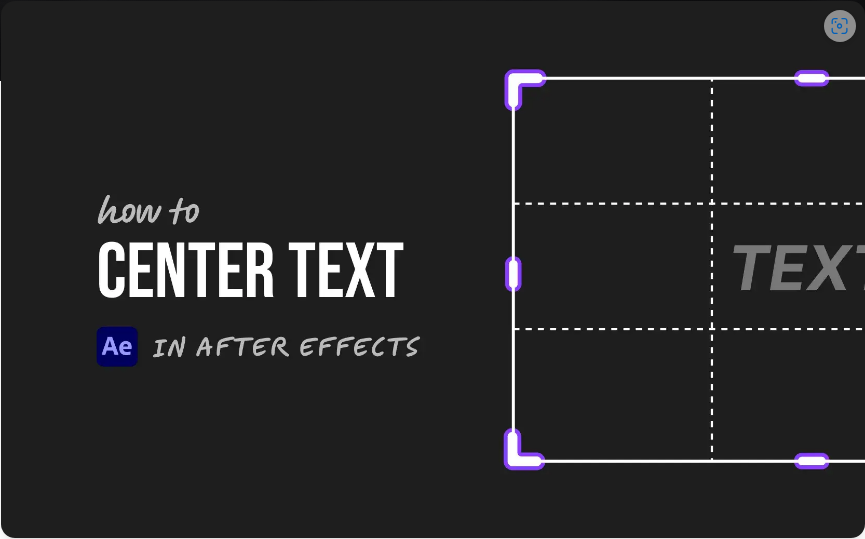
2. Center your text using the Align Panel.
3. Reposition the Anchor Point by holding Alt and double-clicking the Pan Behind Tool (this centers it to the layer).
4. Apply Gaussian Blur from the Effects & Presets Panel.
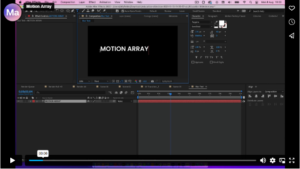
5. Uncheck “Repeat Edge Pixels” in the Effect Controls to avoid unwanted artifacts.
6. Adjust the Blurriness and Direction sliders to fine-tune the effect.
7. Set keyframes for Blur Amount where you want the transition to start.
8. Press T to open Opacity Controls and add a matching keyframe.
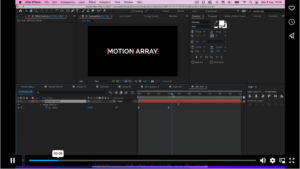
9. Move the playhead to where the transition should end and reduce Blurriness to 0.
10. Add a second Opacity keyframe and set it to 0 for a fade-out effect.
11. Adjust keyframe timing to control animation speed.
12. Copy (Ctrl/Cmd+C) and paste (Ctrl/Cmd+V) the keyframes to reverse the effect later.
13. Right-click the outgoing keyframes and select Time Reverse Keyframes for a smooth exit.
Part 2: Advanced Blur Reveal (Cinematic Text Animation)
For a more dynamic effect, combine blur with scaling and tracking animations.
Step 1: Animated Blur Effect
1. Create a New Comp and add your text.
2. Center the text using the Align Panel and Pan Behind Tool (Ctrl/Cmd + Click).
3. In the Text Layer options, click Animate > Blur.
4. Under Range Selector, set Shape to Ramp Up and enable Randomize Order.
5. Adjust the Blur Amount until it looks right.
6. Keyframe Offset from -100 to 100 over 2-3 seconds.
7. Add Opacity via the Add Property menu and set it to 0 under Range Selector.
8. Apply Easy Ease (F9) to smooth the keyframes.
Step 2: Scaling for Cinematic Impact
1. Select your text layer and press S to open Scale.
2. Keyframe the Scale at the start and end of your timeline.
3. Adjust the size for a slow zoom-in/out effect.
Step 3: Tracking for Professional Spacing
1. Ensure your text is center-aligned in the Paragraph Panel.
2. Go to Animate > Tracking in the Text Layer options.
3. Keyframe the Tracking Amount alongside your scale animation.

Pro Tip: Experiment with different Animate properties to create unique transitions!
Part 3: 5 Best Blurred Text Templates (Free & Premium)
If you need a quick solution, these After Effects templates deliver stunning blur effects:
1. Blur Typography Stories – 5 portrait-friendly designs with gradient blurs.

2. Typographic Trailer – 33 title placeholders with glitch and particle effects.

3. Glitch Titles – 9 badge-style templates with flickering blur animations.

4. The Age Cinematic Title – 8 titles with bokeh and light transitions.
5. Golden Premium Titles – Luxe gold-text animations for intros and credits.

Final Thoughts
Blur effects are versatile, stylish, and easy to customize for any project. Now that you know how to create them, why not explore more title animation techniques? For another cool effect, check out our guide on Zoom Motion Blur Transitions!