How to Use Nesting in Premiere Pro for Better Timeline Organization
Nesting in Adobe Premiere Pro is a powerful yet simple tool that every video editor should master. Whether you’re streamlining complex timelines or applying effects efficiently, nesting helps keep your projects organized. In this guide, we’ll cover everything from the basics of nesting to advanced workflow tips—including how to unnest a sequence if needed.
Part 1: What Is Nesting in Premiere Pro, and Why Use It?
Imagine having to apply the same effect or adjustment to multiple clips individually—tedious, right? Nesting solves this by grouping clips into a single “container,” allowing you to make changes across all of them at once.
Technically, nesting converts multiple clips into one unified clip in your timeline (unlike proxies, where clips remain separate). You can nest video and audio clips side by side or across different tracks.
However, nesting creates a new sequence in your project. This nested sequence can:
● Be edited independently
● Contain effects
● Even include other nested sequences (a “nest within a nest”)
While this can get complex, nesting is incredibly useful for large projects.
Part 2: How to Nest Clips in Premiere Pro
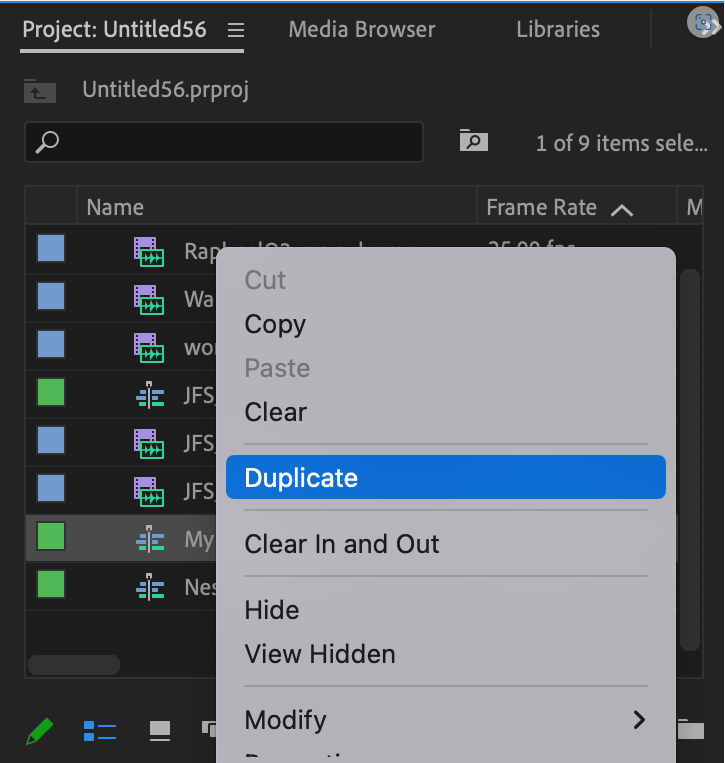
Before nesting, duplicate your sequence as a backup—even though you can unnest later, reverting to a copy is often easier.
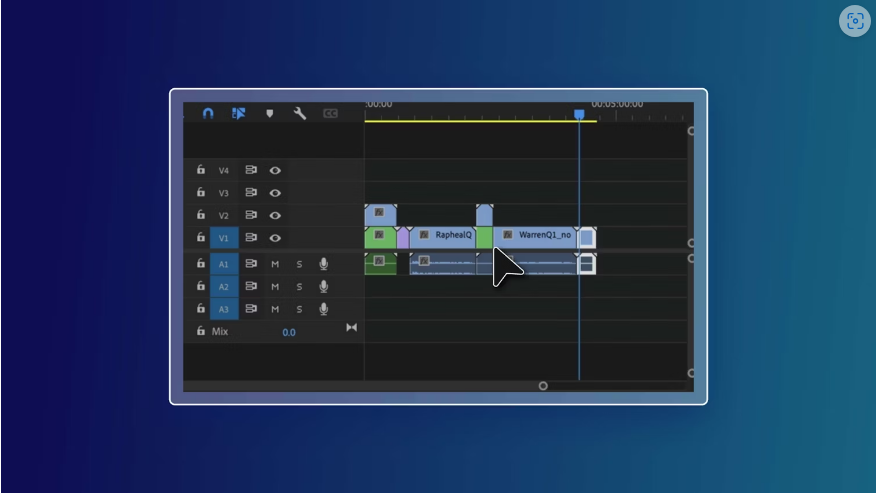
Step 1: Select Your Clips Strategically
● In the Timeline, highlight the clips you want to nest (click and drag or hold Shift to multi-select).
● Be precise—avoid accidentally selecting unwanted clips.
Step 2: Create the Nested Sequence
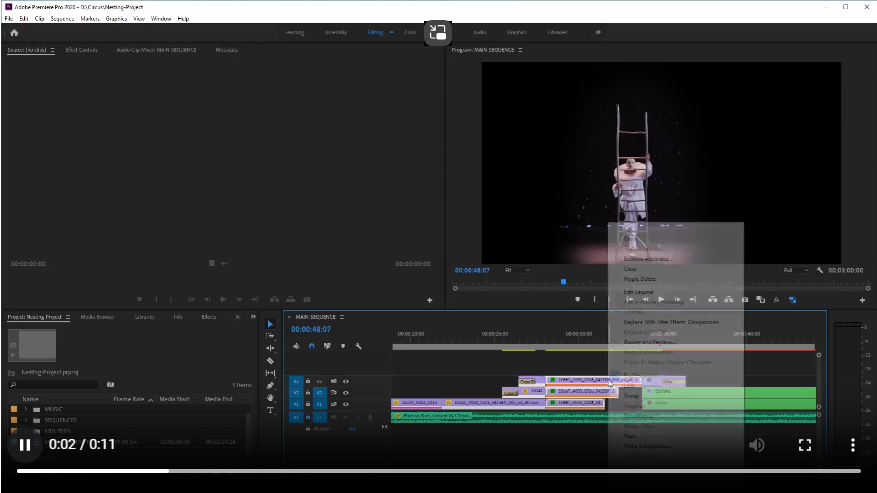
1. Right-click any selected clip and choose Nest.
2. Give it a clear, descriptive name (e.g., “Interview_A-Roll_Nest”).
3. The nested sequence will replace your selected clips in the timeline.
Pro Tip:
● Nesting clips larger than your sequence resolution may cause pixelation when scaled up.
● The thumbnail preview shows the top video track or highest audio waveform.
Part 3: Working with Nested Sequences
Editing Inside a Nest
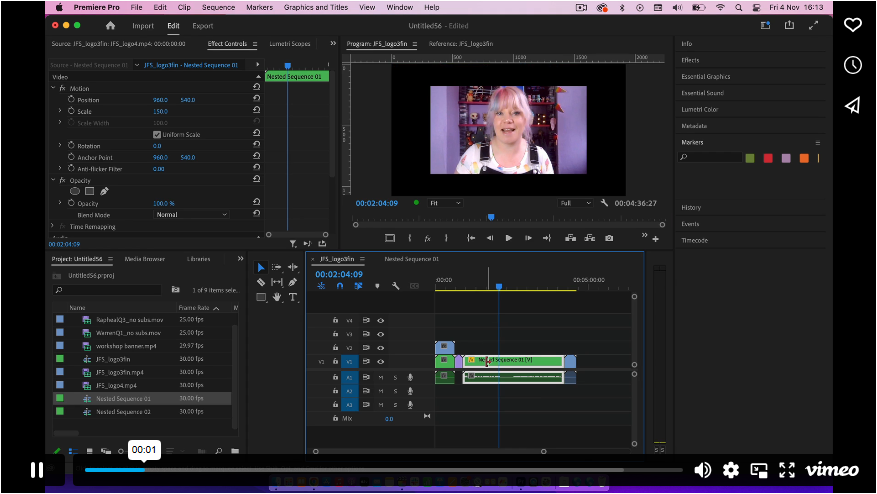
1. Double-click the nested clip in the Timeline to open its sequence.
2. Make adjustments (trimming, effects, color grading)—changes update everywhere the nest is used.
Adjusting Duration
● If you see diagonal lines at the end of a nest, it means empty space—trim to avoid black gaps.
● Use sequence markers (not clip markers) to mark edit points—they’ll appear in the parent timeline for alignment.
Adding Transitions to Nests
Nesting removes transitions at the start/end of clips. To fix this:
1. Open the nested sequence and extend the first and last clips.
2. Return to the parent timeline and reposition the nest.
3. Use the Rate Stretch Tool (Y) to adjust timing if needed.
Using Nests for Effects Workflow
Treat nests like single clips for applying effects. For example:
● Key out green screen footage inside the nest first.
● Then place the nested clip into your main timeline for further editing.
How to Unnest a Sequence in Premiere Pro
Premiere Pro doesn’t have a direct “Unnest” feature, but here’s a workaround:
1. Open the nested sequence in the Timeline.
2. Press Ctrl+A (Cmd+A on Mac) to select all clips.
3. Copy (Ctrl+C / Cmd+C).
4. Go back to the parent timeline, place the playhead where the nest begins, and paste (Ctrl+V / Cmd+V).
Your original clips will reappear, but the nested sequence remains in the Project Panel for future use.
Final Thoughts
Nesting is a game-changer for staying organized and efficient in Premiere Pro. While managing nested sequences can get intricate, mastering this technique will save you time on complex edits. Hopefully, Adobe will add a dedicated “Unnest” option soon—but until then, these methods will keep your workflow smooth.