In this tutorial, we’ll take a look at the workflow to export an icon from Adobe Illustrator for use in Premiere Pro and After Effects.
If you’ve ever purchased a set of vector icons to use in a video, you may have quickly realized that just dragging and dropping the vector files into Premiere Pro or After Effects is not the best workflow. I know I’ve been guilty of this . . . many times.
However, with just a little work in Adobe Illustrator, we can optimize any vector icon we want for use in Premiere Pro or After Effects.

We’ll start by importing our vector icon set into Adobe Illustrator. From there, we will isolate the icon we want to export, and we will change the scale, adjust various colors, then split the icon into multiple layers (if necessary).
Ready? Let’s dive into the tutorial.
Exporting a Vector Icon for Premiere Pro
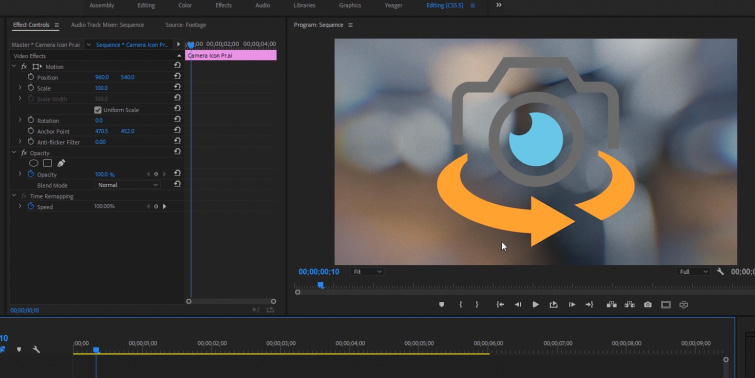
An important aspect of vector icons in Premiere Pro is that they will get rasterized upon import. (This means the icon will lose its vector quality and act more like a .png file with an alpha channel.) When you save your icon in Adobe Illustrator, you want the resolution high enough to use in your video. If you scale the icon over 100% in Premiere Pro, it will result in overall quality loss. (You can always export a larger icon and then scale it down in Premiere Pro with no quality loss.)

Exporting a Vector Icon for After Effects
When using a vector icon in After Effects, we have the option to continuously rasterize (by turning on the “collapse transformations” layer option), which will let us resize our icon any way we want, with no loss in quality. (Basically, it acts just like a vector layer in Adobe Illustrator.)
Another cool option with Illustrator files in After Effects is the ability to import multiple layers. This lets us quickly animate different sections of our icon (a massive workflow time saver).


