How to Use Light Leaks to Create Text Reveals in Premiere
In this step-by-step video tutorial, learn how you can use light leaks to create a text reveal effect in Adobe Premiere Pro.
For a long time, DPs and filmmakers considered light leaks undesirable effects. Literally caused by light “leaking” into the chamber between the lens and camera sensor, the optical phenomenon would create dazzling in-camera effects.
Over the years, however, light leaks and other optical effects — such as lens flares — have become popular. In fact, many graphics artists have begun using digital (or artificial) light leaks in their animations and title sequences.
In this video tutorial, I’ll take you through a step-by-step process for using light leak footage to create a text reveal effect in Adobe Premiere. This is a fun effect to work with because you can duplicate it very easily from project to project.
The Breakdown
First, create a new sequence, by going to File > New > Sequence; adjust settings and name your sequence. Click OK.
With the Project Panel selected, go to File > New > Black Video; adjust settings to match sequence settings. Click OK. Then drag your Black Video clip from the Project Panel to the timeline onto VIDEO LAYER 1; adjust the duration to about 10 seconds or so.
Select the Type Tool; click on the Program Out panel and type the text that you want to animate. Make sure that the Fill Color is set to White. Place your text layer on Video Layer 2.
Quick note: If you can’t find your Essential Graphics panel, you can toggle it on and off via the Window dropdown menu.
Import light leak footage, and drag it to the timeline onto Video Layer 3.
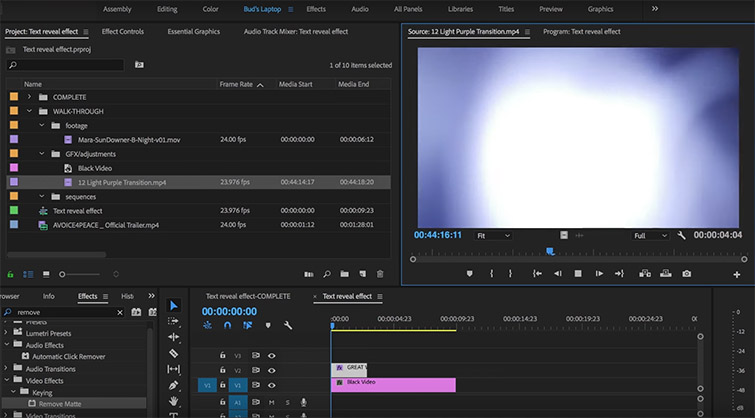
Quick note: With a little searching, you can find lots of high-quality (and free) light leaks that you can use in your films. I recommend starting your search at Rocketstock. Click here to download 13 Free 4K Light Leaks. For an even greater selection of free light leaks, check out Premium Beat’s article, 7 Places to Find Free Leaks. See below for more tips on choosing the right light leak footage.
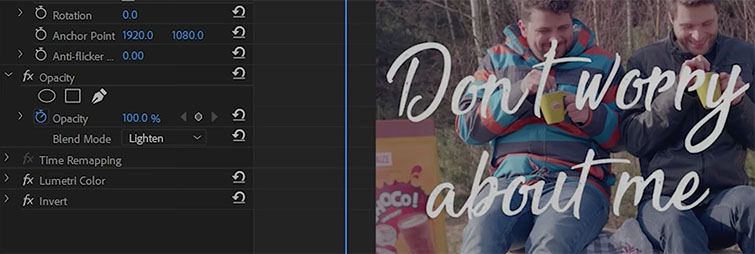
With the your light leak footage selected, navigate to the Effect Controls panel; under Opacity, select Subtract from the Blending Mode dropdown menu.
Adjust the length of the light leak footage, play with reversing the speed of the clip, and use cross dissolves to get your desired effect.
Once you’ve achieved your desired effect, select all the elements, right-click, and select “Nest…” from the dropdown menu.
Place this nested sequence in your existing project timeline, and set the Blending Mode to Overlay.

Not All Light Leaks Are Created Equal.
You may have to try a few before you achieve your desired effect. To get the “reveal” effect that we’re going for, you’ll need a light leak with a large, bright light that floats across the entire screen.
You’ll notice that with the Subtract blending mode enabled, the brighter areas of our light leak footage correspond to the darker areas of our text. Furthermore, the darker areas of our light leak footage correspond to the lighter, or illuminated, areas of our text.
Keep this in mind when searching for and adjusting your light leak footage.
The beauty of this effect is that you can build it right on the timeline, without leaving the application or rendering out any After Effects compositions.
Furthermore, once you’ve invested the initial time and effort to build this effect, you can easily replicate it by simply copying and pasting it to another Premiere project and changing the text. And, keep in mind, if you need to up your game with professional-caliber light leaks, RocketStock has you covered.

