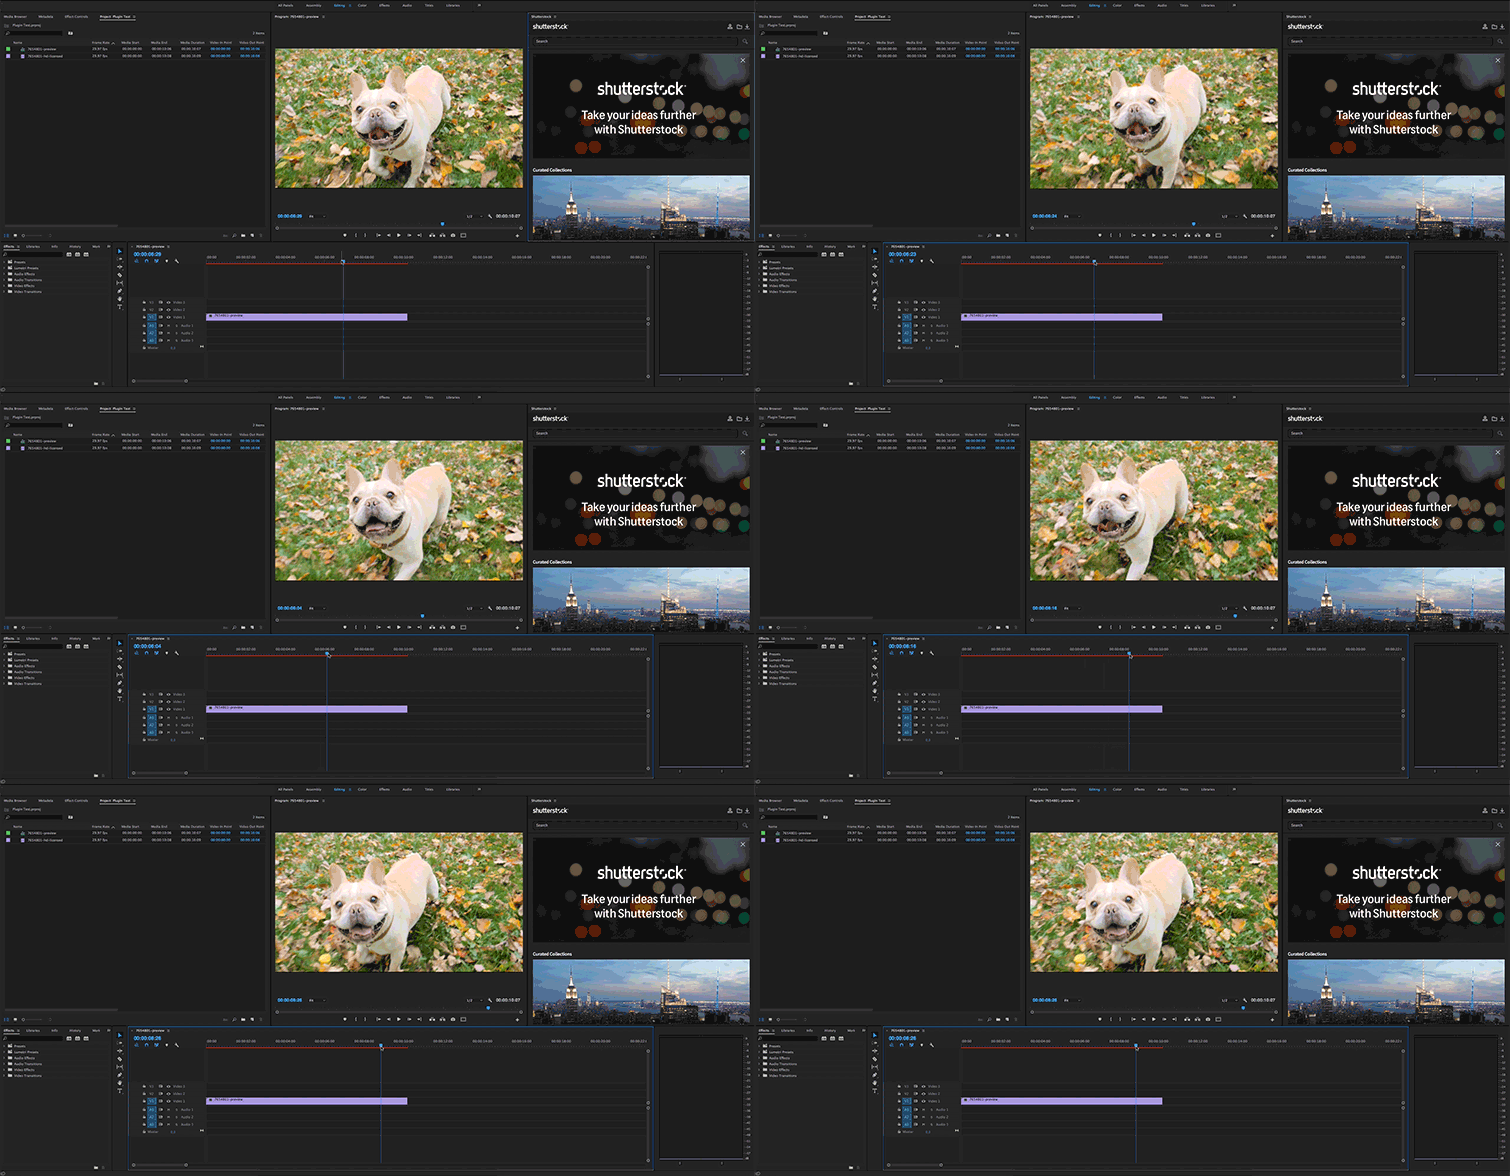
In this video tutorial, learn how you can obscure your subject’s identity in Adobe Premiere Pro by using the mosaic effect.
Cover image via Shutterstock.
If you’ve worked in television or documentaries long enough, you’ve probably had to blur out a face once or twice. Maybe you don’t have a release form, or you want to protect someone’s identity from being exposed. Whatever the case may be, adding a mosaic to a person’s face in Premiere Pro is quick and easy. Premiere’s mosaic effect comes with user-friendly tools that will allow you to easily apply a mosaic to a moving face in just a few minutes. Let’s take a look at how we can do this.
Step 1 — Add the Mosaic Effect
First I need to apply the mosaic effect to my clip. This effect allows me to add horizontal and vertical blocks to my image. I can add keyframes to both of these attributes, and there’s an option to sharpen the colors of my mosaic. Also, as with most effects in Premiere Pro, there is a mask tool inside the mosaic effect. Now that I have applied the effect, it’s time to add a mask to our subject.

Step 2 — Create a Mask
There are several different ways to add a mask with the mosaic effect. I can quickly create an ellipse or 4-point polygon mask, or I can use the pen tool to create a custom path. Since I’m masking a face, the ellipse tool will work just fine. Once I click the ellipse mask tool, I’ll position the mask over my subject’s face. Next, I need to track the mask to my subject’s face as she walks through the scene.

Step 3 — Track Mask Path
When tracking a mask path, there are three tracking methods from which to choose:

Step 4 — Fine-Tune
As long as my track was successful, I should now have a mosaic applied to the subject’s face. For the final step, I can fine-tune the effect. There’s a variety of different things I can do to fine-tune the effect, including adjusting the mask expansion, the mask feather, and the number of horizontal and vertical blocks. Again, since my subject is moving toward the camera, I can add keyframes to any of these attributes to have them change as the subject approaches.

And there you have it. In just a few minutes, I’ve created a mosaic that follows my subject as she moves through the scene.


