Track stems can be extremely versatile when layering music in your project. Find out how to use them in Premiere, Final Cut, and DaVinci Resolve.
If you’ve never heard of the term “stems” before, well then buckle up, because your editing game is about to become so much more powerful. Basically, stems are the separate instruments of a song separated into their own individual .WAV file, which can be used to manipulate the song however you like. This means you can lower the vocal track to fit in a voiceover, or even bring up the bass and drums if you want your song to punch a little bit harder.
With PremiumBeat’s addition of stems to over half of their library, you now have the ability to master the music you put in your project. Today, we’re going to do a quick walkthrough of how you can implement these stems into 3 different NLEs: Adobe Premiere, Final Cut, and DaVinci Resolve.
Downloading the Stems

In the PremiumBeat song library, select a song you would like to purchase.

To make sure it has a stem package, click the “Download Comp” button to the right of the track. A popup will appear containing the different tracks the song contains, such as loops and shorts.

At the bottom, if it includes “Stems,” then you are good to go.

Once you’ve purchased the song, you will be prompted with the “Download Music” button on the receipt page. At the bottom of the download window, you will see the download options for the stem folder: either MP3 or WAV formats.
Adobe Premiere

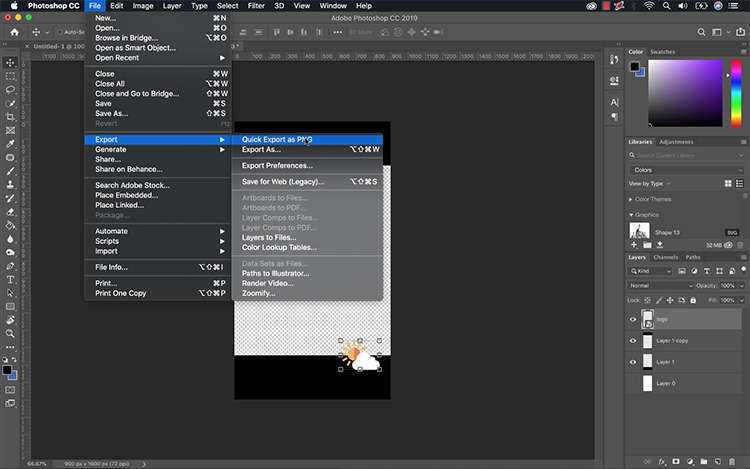
Once you’ve downloaded the stems package from PremiumBeat, unzip the folder and drag it into Premiere. From there, you see 4-6 audio tracks within that folder.

If you select all of them and drag them in at once, they will line up horizontally, not vertically on different tracks like you would want them to, so drag and drop them one by one onto your timeline in their own individual layers. Make sure that all of the tracks are aligned so they sync up when played.

Now, you can go in to each stem and mute some if you wish, or customize your track even further by adjusting each track’s audio level with the pen tool (P).
DaVinci Resolve

Import the stems folder into your Media Pool. Now, just like Premiere, you are going to have to drag them into the timeline one at a time to get them synced together.

One of the cool features of Resolve, though, is that you have the Fairlight audio control panel to adjust your audio levels in full screen. To get there, just select the Fairlight tab at the bottom of the screen.

The top section of Fairlight will show you the audio levels of each track, and you can dive deeper into each track’s settings in the inspector tab at the top right.
Final Cut

After you’ve dragged your stems folder into the project window, highlight each clip and drag them one by one into your timeline. Again, if you drag them all in together, they will form in a horizontal line.

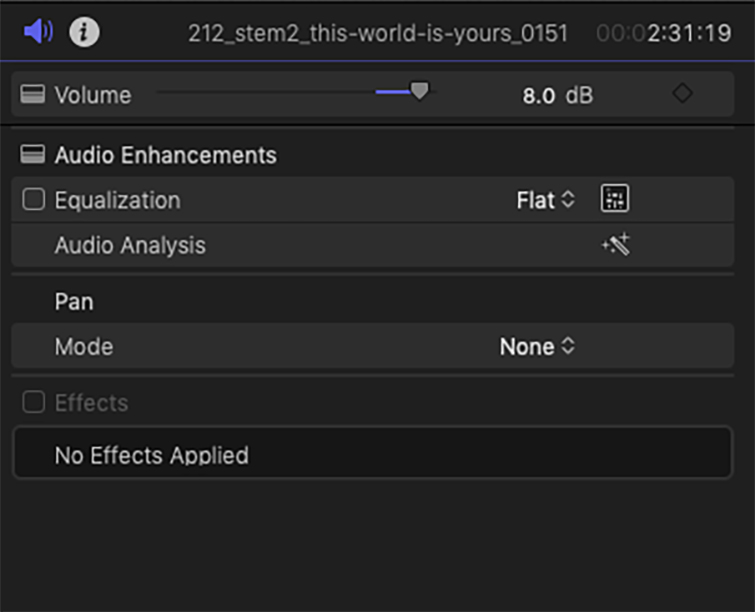
Once in your timeline, you can drag the volume band up and down to control levels on each track.

There is also the audio effects tab on the right that you can use to further customize your track.