Speed up your edit with custom image overlays and export presets.
Whether it’s a logo bug, a watermark, or a custom border, it’s quite common to use image overlays on a video project. If you’re exporting a lot of videos, however, adding images to each video can be tedious and time-consuming. In Adobe Premiere Pro, there’s a simple way to add image overlays that will take no time at all.
Let’s say that I’m creating videos for a weather channel. Each week, I need to publish a number of short video clips to a variety of social media platforms, including Facebook and Instagram. It’s important that I maintain the branding across these platforms via logo bugs for each video. However, with the variety of formats and aspect ratios, adding image overlays can take up a huge chunk of time.
Let’s have a closer look at how to automate this process.
Add an Image
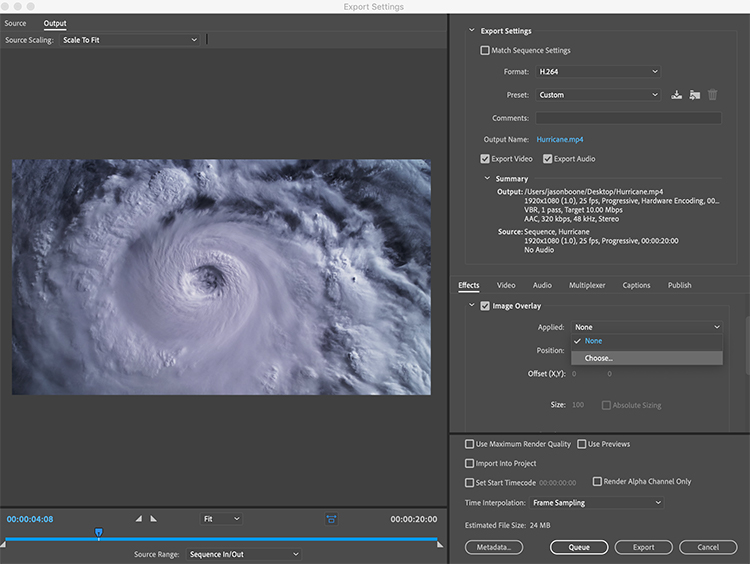
The reason this method of adding image overlays is so fast is that you add the overlay during the export. Once I have a video sequence ready to go, I’ll select File > Export > Media. This will open up the Export Settings dialog box. To the right, I have a number of tabs just below the main Export Settings section. I’ll select Effects and then check the Image Overlay checkbox. Now I’ll click on the Applied dropdown menu and choose an image.
Adjust the Settings
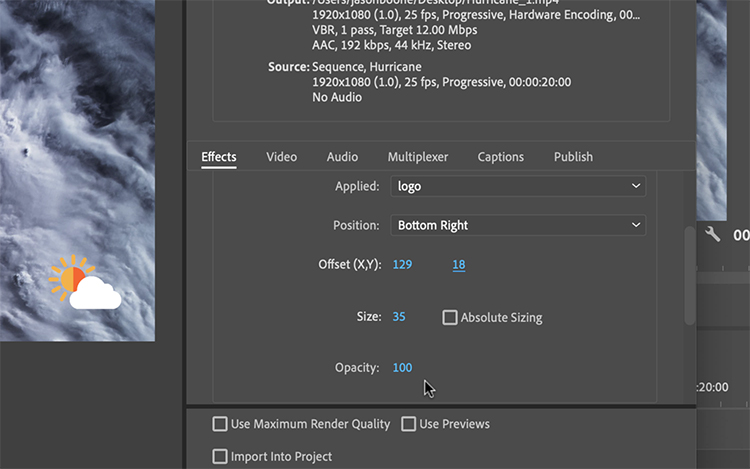
This first image will be used as a logo bug. I want it to be in the lower left of the screen. First, under Position, I’ll select Bottom Left. Next, I’ll scale the image to the desired size. I can further fine-tune the image via the Offset X, Y controls. Since this is a logo bug, I want it to be nice and blended into the background. To achieve this, I can bring the Opacity down below 50.
Save an Export Preset
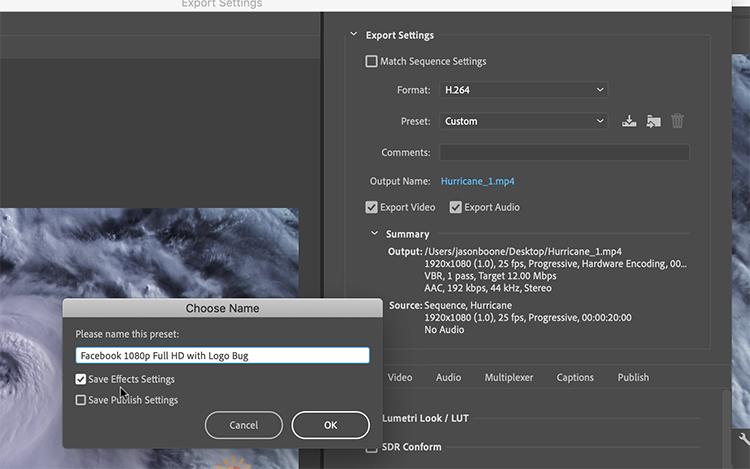
If I really want to save some time, I can create an export preset that will automatically add the overlays. To do this, I’ll need to click the Save Preset button just to the right of the Presets drop-down menu. When the Choose a Name dialog box comes up, I will click the Save Effects Settings checkbox. Whatever Image Overlay settings I have set up will automatically apply to future exports using this preset.
Create Custom Overlays in Photoshop

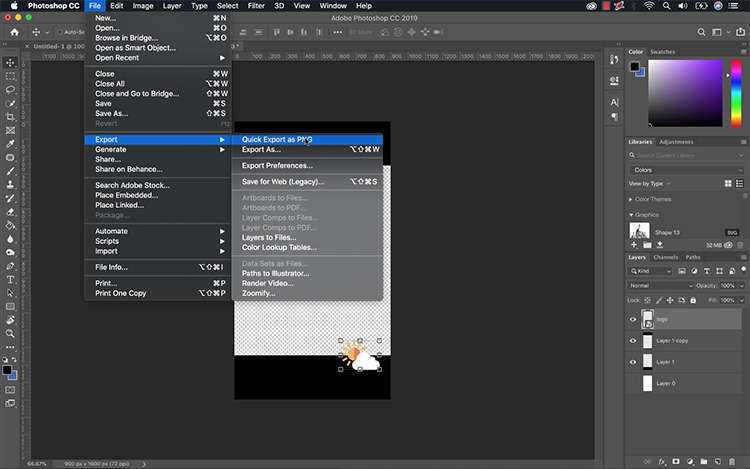
If I don’t want to adjust the position of my logo every time for every single export, I can create a custom overlay in Photoshop. To do this, I’ll simply create a new 1920×1080 Photoshop document and place the logo exactly where I want it at the appropriate size. When saving my image, it’s important that I select a transparency-friendly file format, such as PNG.
So what are you waiting for? It’s time to automate your workflow with custom image overlays and export presets.
