Quick Tip: Using Label Colors to Manage Premiere Pro Projects
Labeling your clips with colors can streamline your workflow and help you identify metadata at a glance. Learn how to maximize them in this Premiere Pro tutorial.
Top image via Shutterstock.
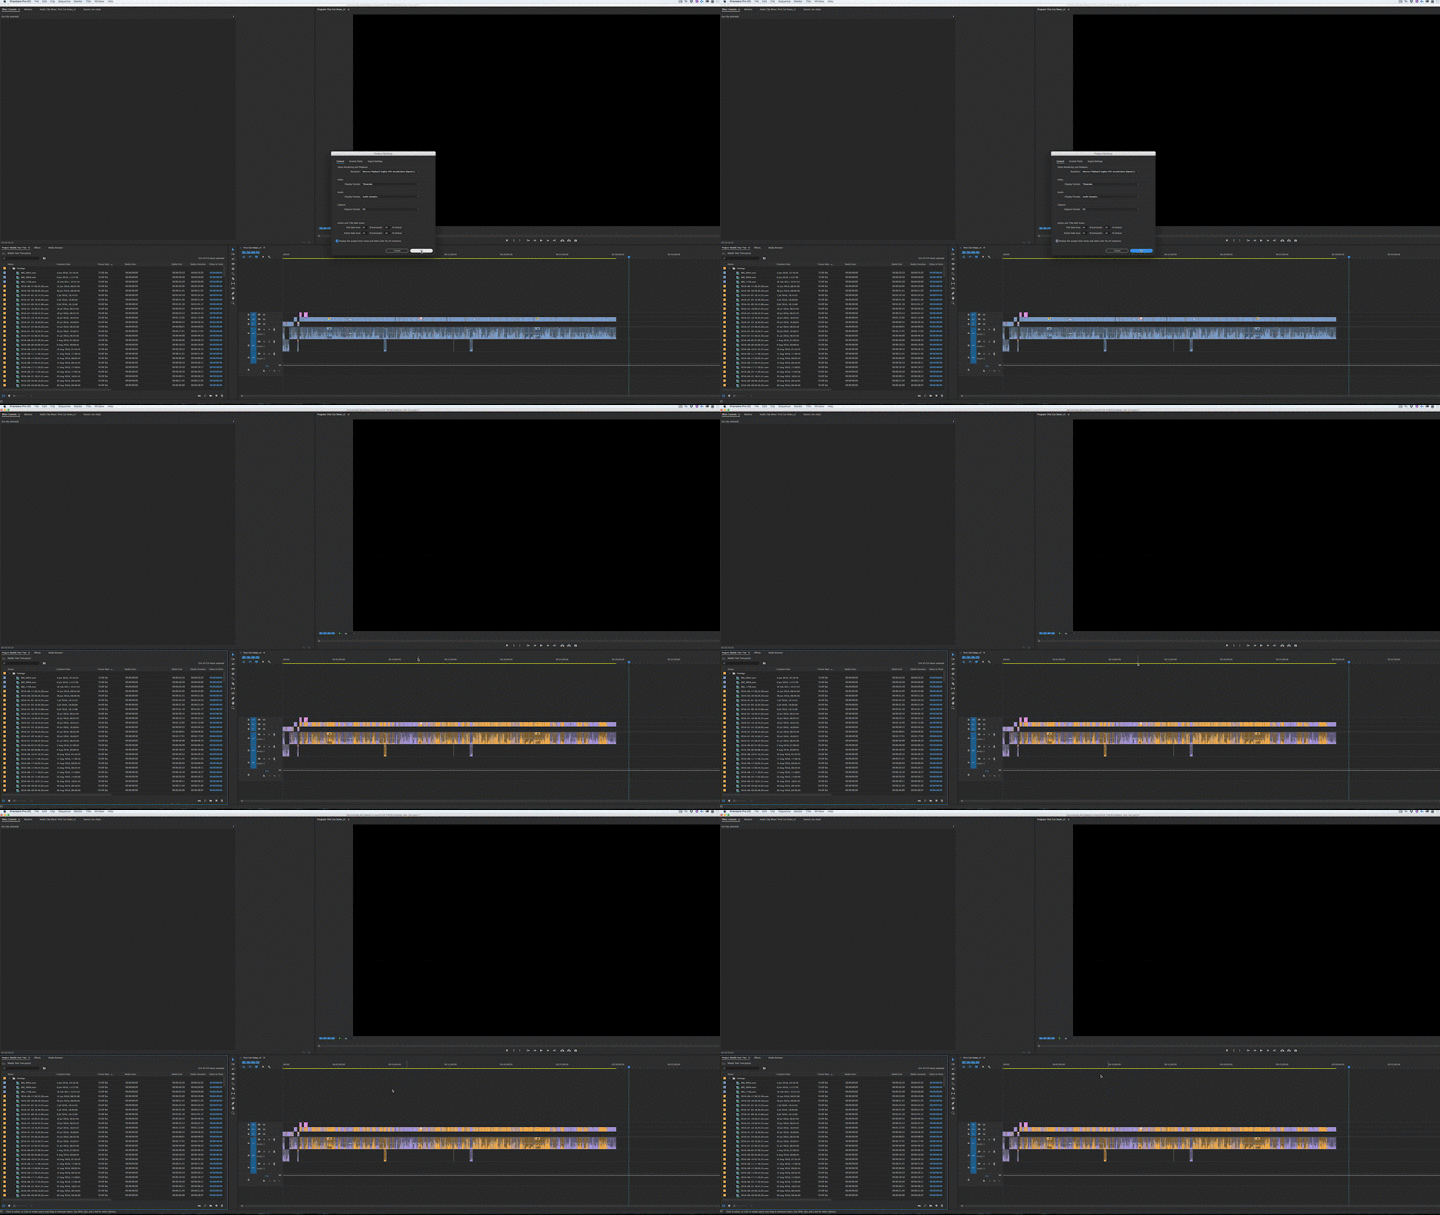
In this quick video tutorial, I am going to show you how easy it is to use a label to color your clips separately, so you can quickly identify different types of footage in the timeline. In the tutorial, I am going to separate footage shot in 24fps and footage shot in 30fps.
Here are some other ways to use color labels on your clips in Premiere Pro:
Tips for Using Labels in Premiere Pro
If you’ve been editing for a while and moved from Final Cut Pro 7 to Adobe Premiere Pro, one of the many differences in the way the two NLEs work is how they handle clip colors.
In Final Cut Pro 7, if you color a clip in the project browser, that color populates out to every instance of the clip in the project.
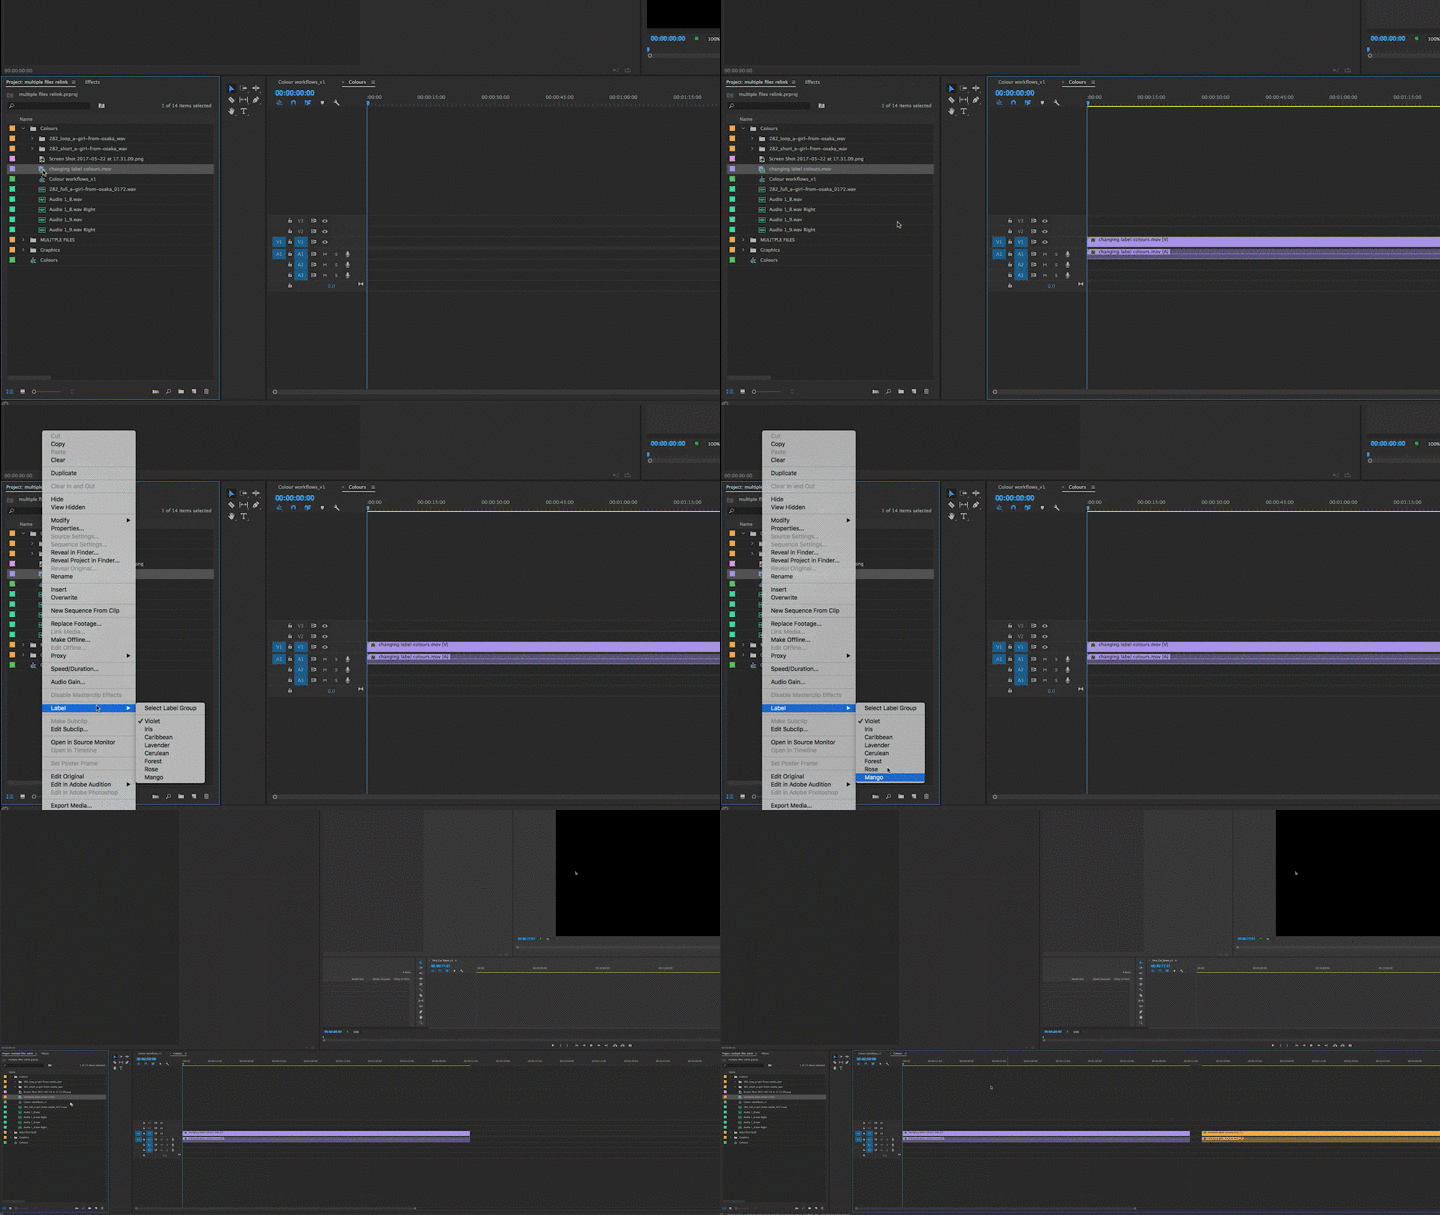
By default in Adobe Premiere Pro, however, every time you drag a clip into a timeline, it acts like a unique instance of that clip.
So if your clip is blue in the project browser, and you drag it into the timeline, it will be blue in the timeline. If you subsequently change the color of the clip in the project browser, say to yellow, and drag that into the timeline, you will have two copies of the same clip but with different colors in the timeline.
If you change the color of the clip in the timeline, rather than in the project browser, it can again have a different color in all other instances.

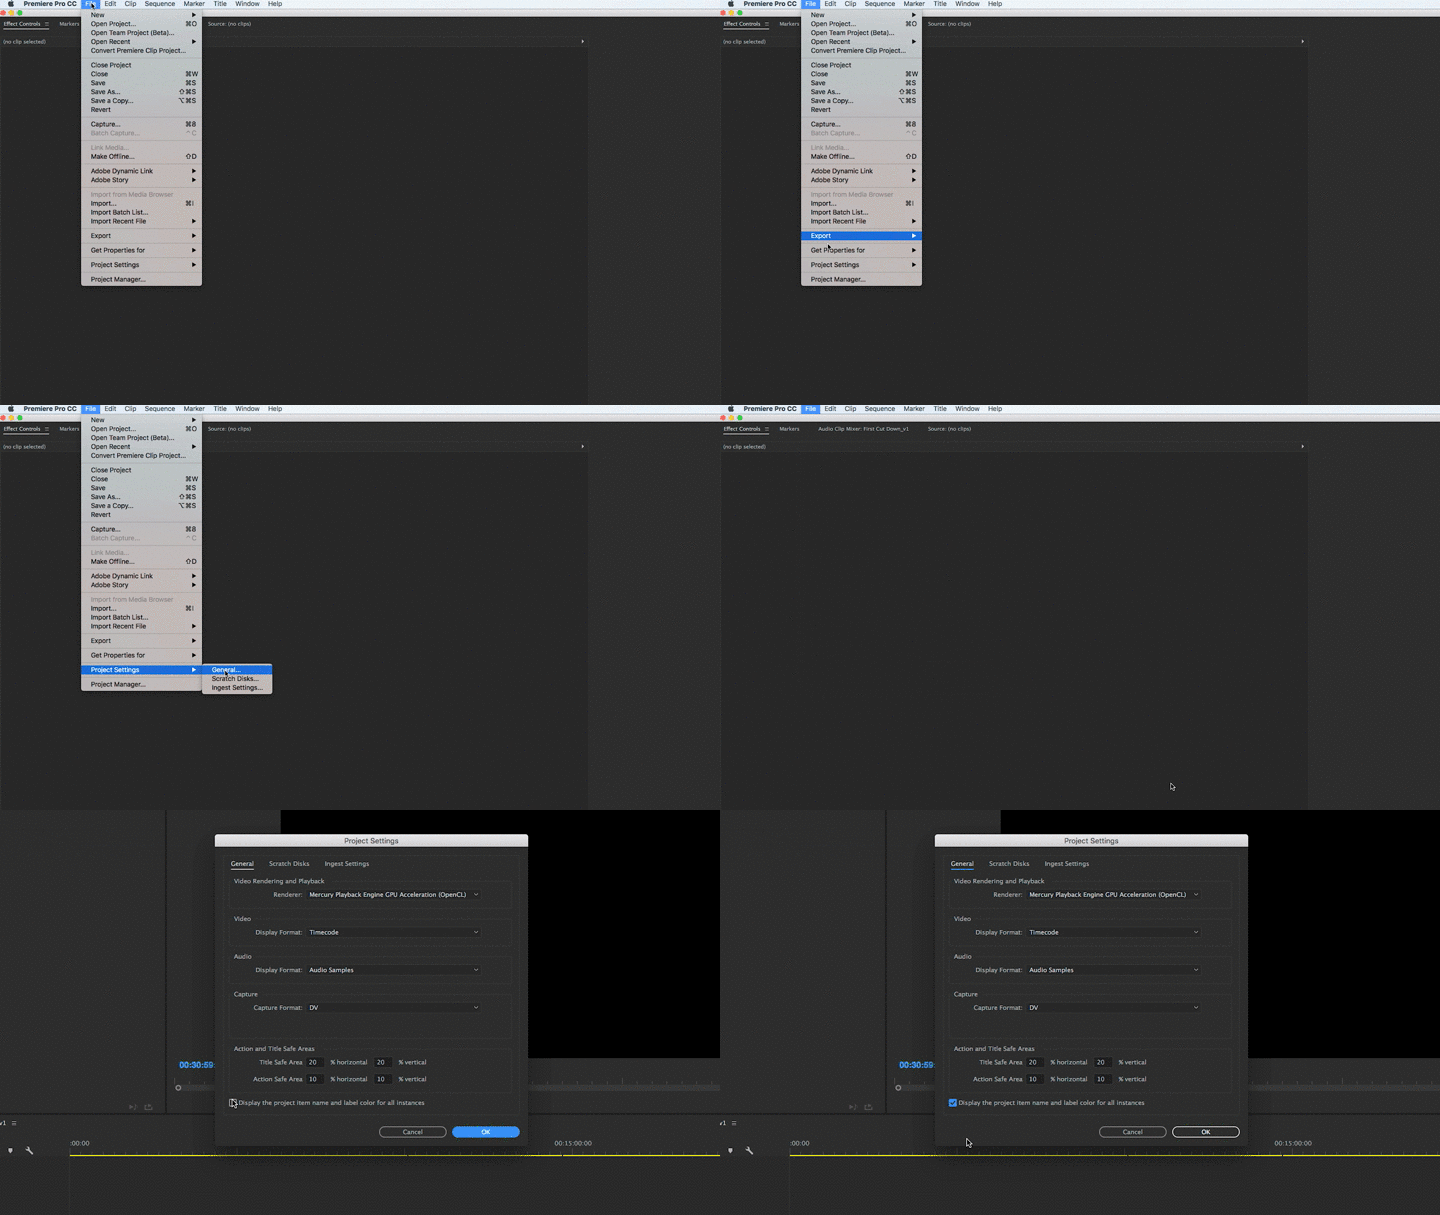
There is a really simple way to change the default behavior of the color coding system in Adobe Premiere Pro. Navigate to File > Project Settings > General and tick the check box labeled “Display the project item name and label color for all instances.”
Now the color of the clip in the project browser will update to all instances of the clip in the project. So if you change the color of the clip back to blue in the project browser, it will be blue everywhere.
This is also true of changing the clip color of any instance of the clip in the timeline itself. (There seems to be a short delay in seeing this — you have to click into another window for it to update.)
Wherever you change the colors of your clips, they will now update globally.
You can toggle this behavior on and off and choose how you would like your clip colors to operate, depending on what you need to do.
Being able to find a clip based on a particular piece of metadata (for example frame rate or frame size) in an already-edited project can be a huge timesaver. Examples might include trying to find all the 4K footage or all the SD footage — or if you’re using stock footage, it’s also a handy way to identify where you’ve used a stock shot and if you’ve replaced the preview version.

Other situations when seeing the balance of the content of your edit can include cutting sizzle reels, when you might want to know something like How much of Brand A do I have compared to Brand B? Color coding your clips would be an easy way to determine this at a glance.
There are many ways to use color coding in Premiere Pro, but this little checkbox makes them all even more helpful.
