6 Free After Effects Scripts That’ll Cut Hours of Work From Your Daily Routine
Ever feel like you’re wasting hours clicking through the same tedious tasks in After Effects? Yeah, same here—AE is powerful, but let’s be real, some parts of it feel like a total slog.
This isn’t a post about flashy effects (though those are fun!). Instead, I’m sharing 6 scripts I actually use every single day. They’re non-negotiable for anyone who works in After Effects regularly—and the best part? They’re basically free. Most use a “Name Your Own Price” model—you can absolutely grab them for $0 if you want. But if they save you as much hassle as they save me, throw the creators a few bucks. It helps them keep building these game-changing tools.
Think of these as tiny workflow sidekicks. Let’s dive in.
1. Move Anchor Point: Adjust Multiple Anchor Points at Once
Anchor points are make-or-break for rotation and scaling—but they’re a total hassle to tweak, especially when you need to fix them for multiple layers (like centering on text or lining up with an object’s base).
The Move Anchor Point script (from Spotlight FX) adds a simple visual widget to your workflow. Select all the layers you want to edit, then just click the widget where you need the anchor point—top-left, center, bottom-right, whatever. It updates the anchor point for every selected layer without shifting the layers themselves. It’s just… easier. Way easier.
(100% free—you just need a free Spotlight FX account to download.)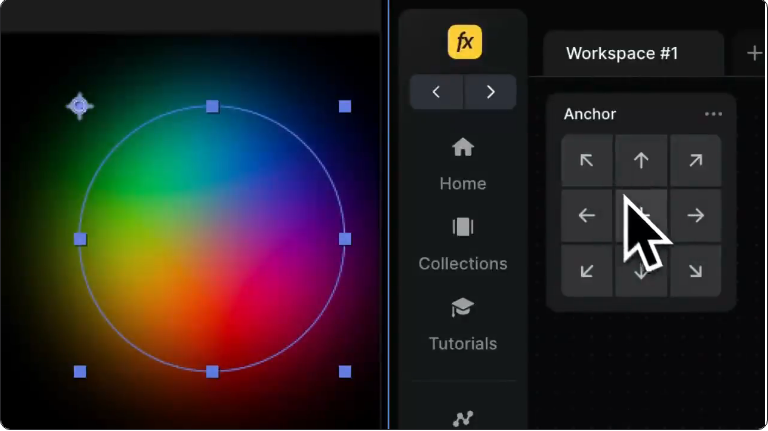
2. EasyCopy: Copy Eases or Values Without Mix-Ups
Ever nail the perfect ease for a set of keyframes, but need to apply that ease to other keyframes without ruining their position or scale? Or vice versa—want to copy values but keep your existing eases?
EasyCopy solves that. It lets you copy only the easing (the speed curve) or only the values (like position numbers) and paste them separately. It sounds simple, but trust me—it cuts out so much tedious tweaking and avoids accidental mistakes. No more overwriting keyframes you spent time perfecting!
(100% free—just sign up for a free account to get it.)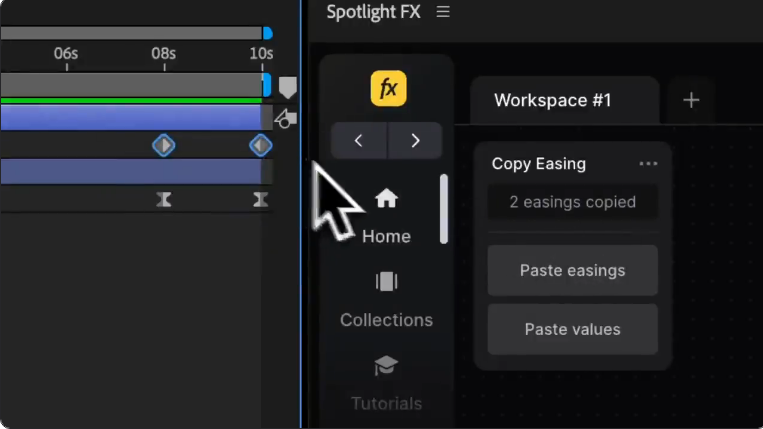
3. rd_CompSetter: Batch-Edit Composition Settings in Seconds
Need to change the frame rate, duration, or pixel aspect ratio for a bunch of comps—plus all the nested pre-comps inside them? Doing that one by one is a nightmare.
rd_CompSetter lets you do it all in one go. Select your main comps, tell the script what to update (duration, frame rate, resolution, even motion blur), and boom—it ripples through every selected comp and its nested pre-comps automatically. It’s a massive time-saver, especially on big projects with tons of comps.
(Also uses “Name Your Own Price”—pay what you want, including $0.)
4. True Comp Duplicator: Duplicate Complex Comps Without Linked Headaches
After Effects’ built-in duplicate tool (Ctrl+D or Cmd+D) works fine for simple comps. But if you duplicate a comp with nested pre-comps, the new copy still ties back to the original pre-comps. So if you edit a nested comp in your “duplicate,” it messes up the original too. Oops.
True Comp Duplicator fixes that. It creates a fully independent copy of your composition and all its nested pre-comps. It even renames everything neatly to keep your project organized. No more linked surprises—just a true, editable duplicate. Super useful when you need to make variations of a comp.
(Yep, another “Name Your Own Price” find.)
5. Simple Ease: Simplify Keyframe Easing in One Click
Tweaking speed and influence for dozens of keyframes manually gets repetitive fast.
This script (also from Spotlight FX) lets you select multiple keyframes and apply smooth easing with a single click. Use presets like ease-in, ease-out, or strong ease, or fine-tune with custom values if you need to. It gives you visual sliders and precise dials to tweak—fast, simple, and totally free.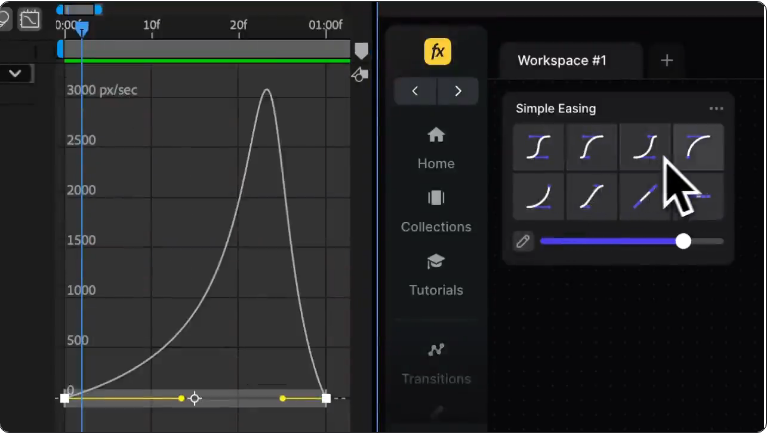
6. SequenceLayers: Stagger Layers in the Timeline Fast
This one’s dead simple, but insanely useful. Got a stack of layers you want to play one after another? Instead of dragging each layer’s start time manually on the timeline, just select them all, run SequenceLayers, and set your offset—say, 10 frames after the last one starts.
Done. It lines up the layers perfectly starting from your current time indicator. Great for quick montages, title reveals, or animating lists.
(Another “Name Your Own Price” script—grab it for free or support the creator.)Final Thoughts
There you have it: six small scripts that make a huge difference in your daily After Effects work. They might not look flashy, but the time and frustration they cut down on adds up fast. I genuinely can’t imagine my workflow without them anymore.

