8 Premiere Pro Shortcuts to Edit Faster (Perfect for Beginners)
Does Adobe Premiere Pro’s interface feel a bit overwhelming? You’re not alone. Luckily, one of the easiest ways to edit faster is by learning a few keyboard shortcuts. You don’t need to be a professional editor to benefit—these tricks are for everyone who wants to work smarter, not harder.
We’ve put together 8 essential shortcuts that will help you edit more efficiently and with greater confidence. New to video editing? No problem. This guide is beginner-friendly and focused on practicality.
Let’s get started.
1.Play Faster & Make Quick Cuts
Use the L key to speed up playback (tap it multiple times to go even faster). Hit K to pause. When you find where you want to cut, press Ctrl+K (Windows) or Cmd+K (Mac) to slice the clip. This combo helps you skim footage quickly and make edits on the fly.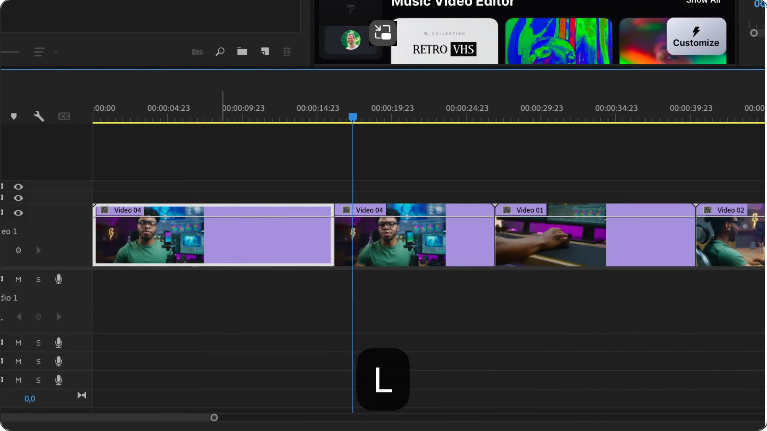
Why it matters: You’ll spend less time reaching for your mouse and more time focusing on your timeline.
2.Navigate the Timeline in a Snap
Instead of scrolling manually, use the Up/Down Arrow keys to jump between edit points. Move frame by frame with the Left/Right Arrow keys. Want to jump 5 frames at once? Hold Shift while pressing the arrows.
Why it matters: Precision navigation means faster and more accurate edits.
3.Move Clips Between Tracks—No Mouse Needed
To move a clip up or down between tracks without dragging, hold Alt (Windows) or Option (Mac) while pressing the Up/Down Arrow keys. Then, nudge the clip 5 frames left or right with Shift + Left/Right Arrow for perfect positioning.
Why it matters: Rearranging clips becomes quick and precise—no misalignments.
4.Delete Clips & Close Gaps Instantly
Tired of removing a clip and leaving a gap? Try Ripple Delete. Select the clip or section you want to remove and press Shift+Delete (Windows) or Shift+Backspace (Mac). The gap closes automatically, and everything else shifts into place.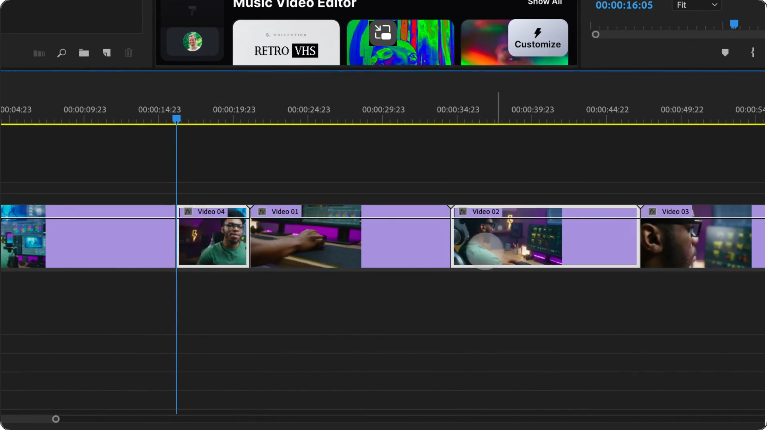
Why you’ll love it: Perfect for rough cuts—no more manual dragging to fill empty spaces.
5.Reposition Clips Without Messing Up Your Timeline
Want to move a clip without affecting the rest of your timeline? Hold Ctrl+Alt (Windows) or Cmd+Option (Mac) while dragging the clip. This lets you reposition it freely while everything else stays put.
Why it matters: Keep your edits intact and avoid extra cleanup work.
6.Instantly Apply Your Favorite Transition
Pressing Ctrl+D (Windows) or Cmd+D (Mac) applies your default transition—usually a Cross Dissolve. Prefer something else? Set a new default (like Dip to Black) by right-clicking it in the Effects panel and selecting “Set as Default Transition.” Now the shortcut applies your go-to effect every time.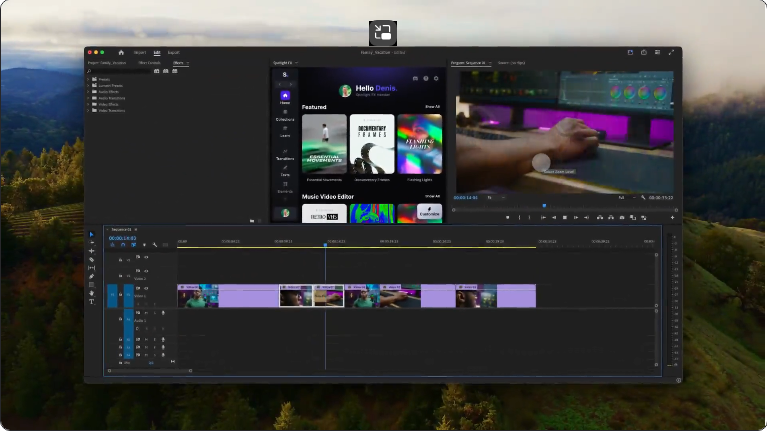
Why it matters: Apply transitions in a tap—no searching through effects menus.
7.Mark Your Edit Points Precisely
Use I for In Point and O for Out Point to mark sections of a clip—whether in the Source Monitor or on the timeline. This makes it easy to isolate the parts you want to use.
Why you’ll love it: Trimming and selecting content becomes faster and more accurate.
Pro Tip: After marking In and Out points, just drag the clip into the timeline—it’ll already be trimmed to your selections.
8.Toggle Full-Screen Preview () Need a better look at your sequence? Press the key (next to the number 1) to enter full-screen preview mode. This helps you check details, spot errors, or simply review your edit without distractions.
Pro Tip: Press ` again to exit full-screen—ideal for a quick, focused preview.
Final Thoughts: Work Faster, Edit Smarter
Premiere Pro has a lot to offer, but knowing a few key shortcuts can dramatically speed up your workflow. Whether you’re trimming, navigating, or fine-tuning, these tricks will help you stay efficient and focused on what matters—creating great videos.Try using these 8 shortcuts in your next project. You’ll be editing like a pro in no time!