Need to cut out a moving person or object from a complex background? Rotoscoping is the technique for you. It allows you to carefully isolate elements in your video—even when they’re in motion.
In Adobe After Effects, the easiest way to get started is with the Roto Brush tool. It uses AI to help you create a detailed mask without having to draw manually on every single frame. That said, you’ll often still need to make manual tweaks for the best results.
Here’s a clear step-by-step process:
1. Import and Prepare Your Footage
Start by opening After Effects and creating a new project. Import your video via File > Import > File, then drag it into the timeline to create a new composition.
Pro Tip: Since rotoscoping can be time-intensive, trim your clip down to only the portion you need before you begin.
2. Open the Layer Panel
Double-click your video layer in the timeline. This opens it in the Layer Panel, which is essential—the Roto Brush tool only works here, not in the main Composition viewer.
3. Select the Roto Brush Tool
Click the Roto Brush icon in the toolbar (or use the shortcut Alt+W on Windows or Option+W on Mac). Your cursor will turn into a green circle.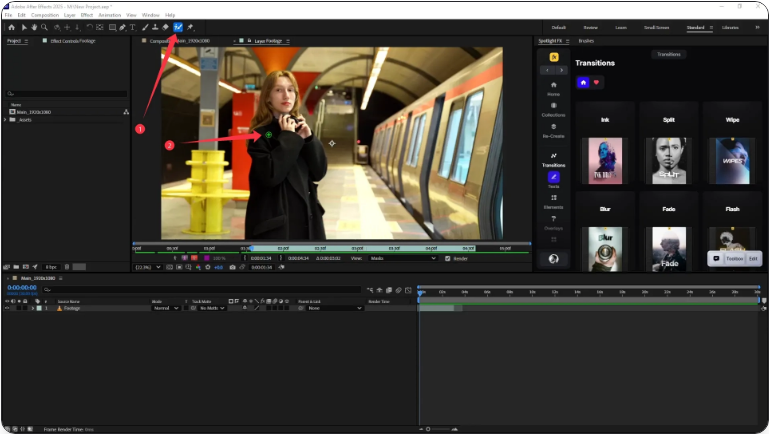
4. Make Your Initial Selection
Paint over the area you want to isolate using the green brush. To remove parts of the selection, hold Alt (Windows) or Option (Mac)—your brush will turn red. After Effects will automatically generate a mask based on your strokes.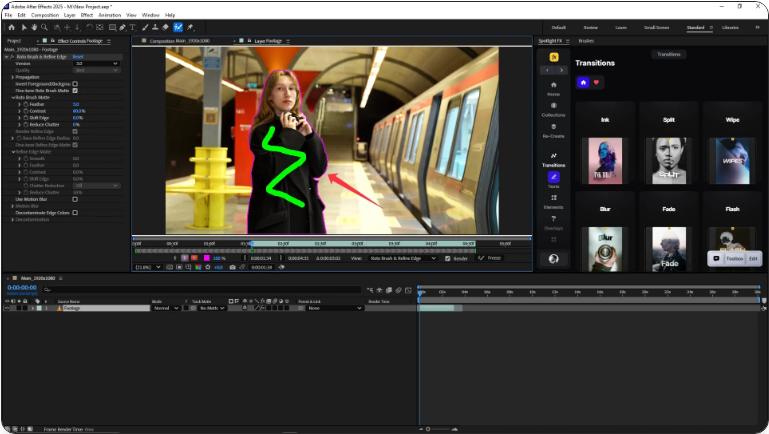
It’s okay if the selection isn’t perfect right away. You’ll refine it next.
5. Refine Your Mask Frame by Frame
Use the Page Down or Right Arrow key to move forward one frame. Adjust the mask using the green (add) or red (subtract) brush as needed. Repeat this through all frames where the subject moves.
Press the Spacebar occasionally to preview the mask in motion. This helps spot flickering edges or areas that need more attention.
The more complex the movement (like hair or fast motion), the more manual adjustments you’ll need to make.
6. Freeze Your Roto Brush Data
Once you’re satisfied with the mask, click the Freeze button in the Roto Brush panel. This locks your selection so After Effects doesn’t re-process it each time.
Note: Freezing may take a moment depending on the length and detail of your clip.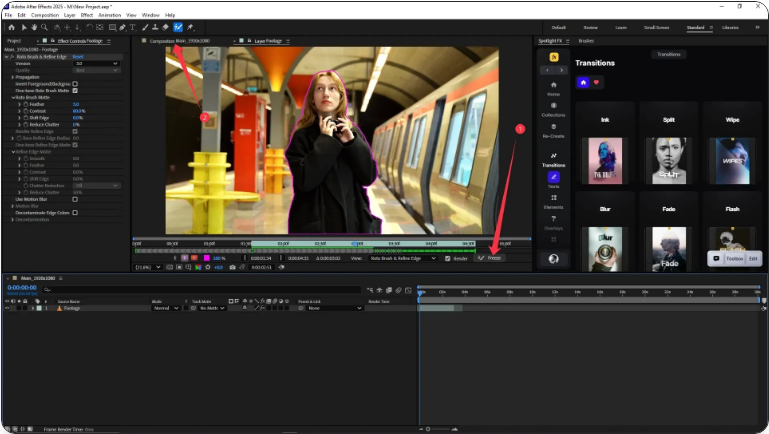
7. Apply Effects in the Composition Panel
Return to the main Composition panel. Your subject is now isolated. You can add effects, change the background, or color grade just that area.
In the example below, the rotoscoped woman remains in color while the background is desaturated, creating a dramatic visual contrast.
Conclusion
Rotoscoping requires patience—especially on longer or detailed shots. But with practice, the Roto Brush tool makes it much more efficient. Remember: start with short clips, use Freeze to save processing time, and make small brush adjustments for cleaner edges.
Frequently Asked Questions
How do you rotoscope frame by frame?
Double-click your layer to open the Layer panel, select the Roto Brush, paint your subject, then navigate with the Page Down key. Refine each frame before freezing.
What is rotoscoping?
Rotoscoping is the process of manually isolating part of a video sequence, often frame by frame, using masks or specialized tools like the Roto Brush.
How do you add a rotoscope effect?
After isolating your subject with the Roto Brush, you can apply stylistic effects—such as glows, cartoon shading, or color treatments—or place them over a new background.
What’s the shortcut for the Roto Brush tool?
Press Alt+W (Windows) or Option+W (Mac) to quickly select the Roto Brush after opening your layer.