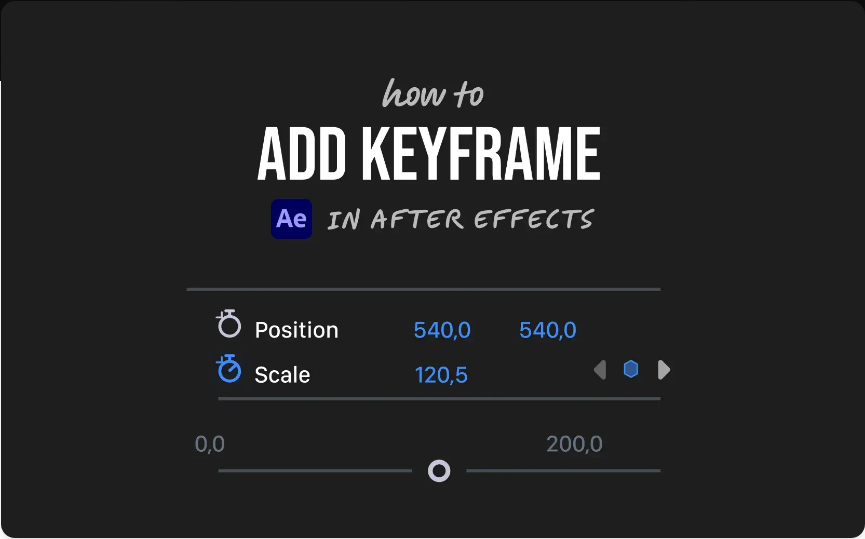
Want to bring your motion graphics to life in After Effects? It all begins with keyframes. Keyframes mark the start and end points of any animation, allowing you to change properties over time. Whether you’re moving a layer, fading text in or out, or animating effects, keyframes do the heavy lifting.
Here’s a straightforward guide to adding keyframes in After Effects.
Step 1: Select Your Layer
Start by selecting the layer you want to animate in the timeline. This can be anything—a text layer, shape, video clip, or image.
Once selected, use these hotkeys to quickly reveal key properties:
●P for Position
●S for Scale
●R for Rotation
●T for Opacity (Transparency)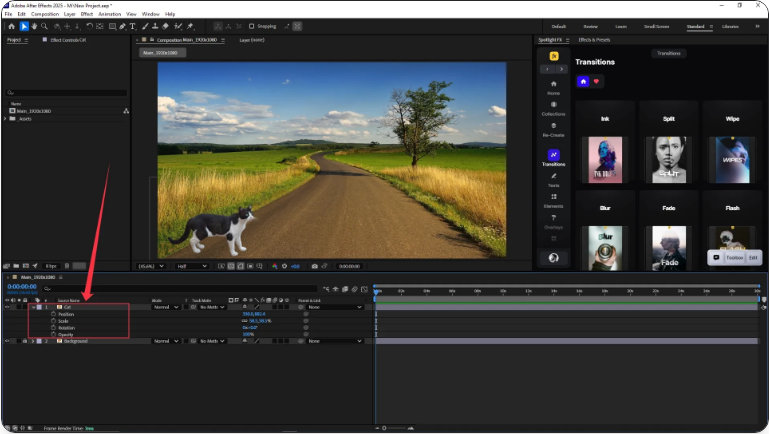
If you’re animating an effect rather than a transform property, jump to Step 3.
Step 2: Set Your First Keyframe
Here’s how to create a simple animation between two keyframes:
1.Click the stopwatch icon next to the property you want to animate. This sets your first keyframe.
2.Move the playhead further along the timeline to where you want the change to end.
3.Adjust the property value—for example, change the position, scale, or opacity.
4.After Effects will automatically create a new keyframe with the updated value.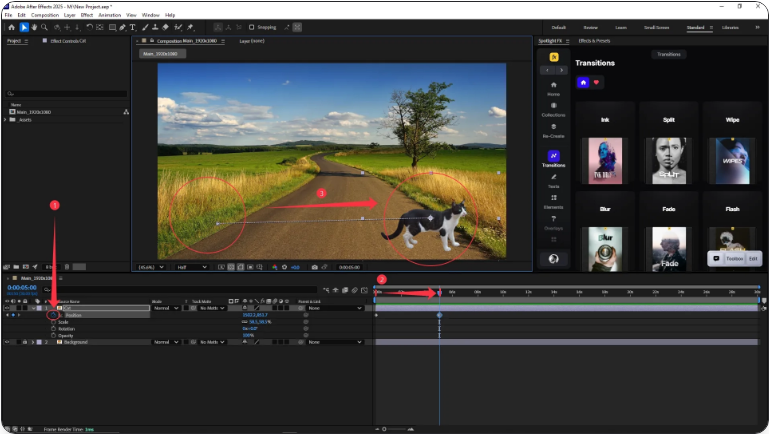
You’ve just created a smooth animation between two points!
Step 3: animating Effects via the Effect Controls Panel
To animate effects (like blur, color change, etc.), use the Effect Controls panel:
1.Select your layer and go to Window → Effect Controls.
2.Find the effect parameter you want to animate.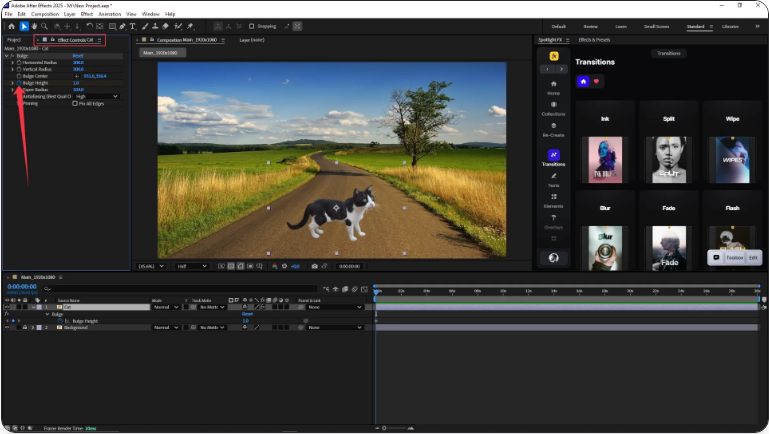
3.Click the stopwatch next to it to set your first keyframe.
4.Move the playhead and change the parameter value—another keyframe will be added automatically.
Tip: You can also right-click a property and choose “Add Keyframe,” but using the stopwatch is faster and more common.
Frequently Asked Questions
How do I add a keyframe?
Select the layer, press a hotkey (P, S, R, T), move the playhead to where you want the keyframe, and click the stopwatch icon next to the property.
How do I add keyframes in the Effect Controls panel?
Open Effect Controls (Window → Effect Controls), find the effect setting you want to animate, and click the stopwatch to create a keyframe.
How do I copy and paste keyframes?
Select one or more keyframes, press Ctrl+C (Windows) or Cmd+C (Mac), move the playhead to the desired time, and press Ctrl+V (Windows) or Cmd+V (Mac).
With these steps, you’re ready to create basic animations and control changes over time in After Effects. Happy animating!