Learning how to cut clips is one of the first and most essential skills you’ll need in Adobe Premiere Pro. Whether you’re removing unwanted sections or breaking a long clip into parts, making clean cuts will speed up your entire editing workflow.
The best part? It’s actually very easy. Here are three straightforward ways to cut your video clips—so you can spend less time searching for tools and more time editing.
1. The Razor Tool
This is the most intuitive method for making cuts.
1.Select the Razor Tool from the tools panel (it looks like a razor blade).
2.Alternatively, press the C key on your keyboard (same shortcut for Windows and Mac).
3.Click anywhere on the clip in your timeline where you want to make a cut.
4.Your clip is now split into two separate segments that you can move, delete, or adjust independently.
If you have multiple tracks (like audio or graphics), make sure you’re cutting the right one. You can also cut across several layers at once by holding Shift while clicking.
2. The Keyboard Shortcut
Ideal for editors who prefer to work quickly without switching tools.
1.Select the clip you want to cut in the timeline.
2.Move the playhead to the exact frame where you want the split.
3.Press Ctrl + K (Windows) or Cmd + K (Mac).
The clip will be instantly divided at the playhead’s position. This method is great for making rapid cuts without ever reaching for your mouse.
3. Trimming by Dragging
Sometimes you don’t need to split a clip—you just want to shorten it from the start or end.
1.Hover your cursor over the edge of a clip until you see a red arrow icon.
2.Click and drag inward to trim off footage from the beginning or end.
3.This doesn’t create a separate clip—it simply shortens the original one.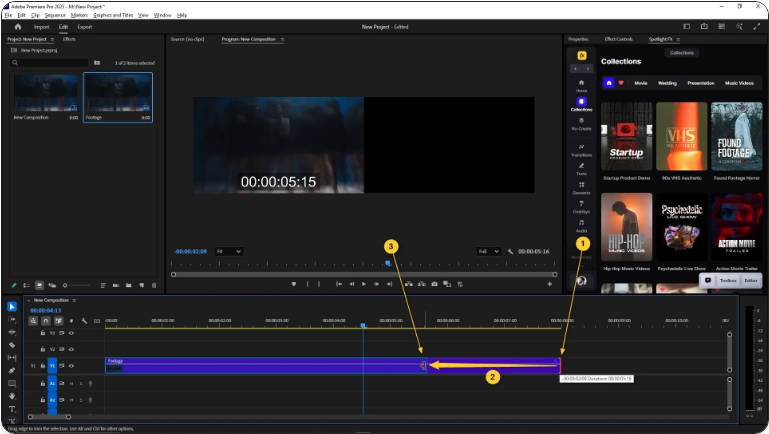
This technique is perfect for fine-tuning edits, like tightening pauses in a conversation or trimming off excess footage before or after a scene.
Conclusion
Making cuts in Premiere Pro might seem confusing at first, but it won’t take long before it feels natural. Depending on the situation, you can use the Razor Tool, a keyboard shortcut, or simple trimming—each method helps you work more efficiently.
Once you master these basics, you’ll navigate the timeline with confidence and speed.
Frequently Asked Questions
How do I cut a clip in Premiere Pro?
Use the Razor Tool (press C) and click where you want to cut, or use the keyboard shortcut Ctrl + K (Windows) or Cmd + K (Mac) to split a clip at the playhead.
How do I remove a section from a clip?
First, make cuts on either side of the part you want to remove using one of the methods above. Then select that segment and press Delete. To automatically close the gap, right-click the space and choose Ripple Delete.
What is the shortcut for cutting in Premiere Pro?
The fastest way to cut a selected clip is Ctrl + K (Windows) or Cmd + K (Mac). You can also press C for the Razor Tool to make cuts manually.
How does splitting a clip work?
Splitting divides one clip into two separate segments. Just position the playhead where you want the cut, select the clip, and press Ctrl + K / Cmd + K. Each new segment can be edited on its own.