Want to make your animations look more dynamic and lifelike? Motion blur is the key. It mimics the natural blurring that happens when objects move quickly in real life, smoothing out your animations and making them feel more fluid.

If your motion graphics seem too rigid, don’t stress—adding motion blur in After Effects is quick and easy. Here’s how to do it in just three steps.
Step 1: Enable Motion Blur for Your Layer
Before anything else, you’ll need to turn on motion blur for the specific layer you want to affect.
1. In the Timeline panel, locate the column with the three overlapping circles (this is the Motion Blur toggle).
2. If you don’t see it, click the “Toggle Switches/Modes” button at the bottom of the timeline to switch views.
3. Click the empty box under the Motion Blur column for your layer—a small icon will appear, indicating it’s active.
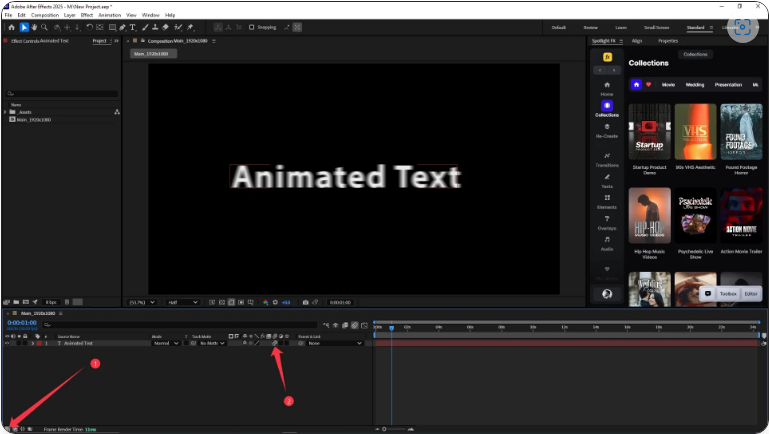
Now, After Effects knows to apply motion blur to that layer.
Step 2: Turn on Motion Blur for the Entire Composition
Enabling it for the layer alone isn’t enough—you also need to activate it for the whole composition.
1. At the top of the Timeline panel, click the “Enable Motion Blur” button (it also has the three-circle icon).
2. Once highlighted, motion blur will render in previews and final exports.
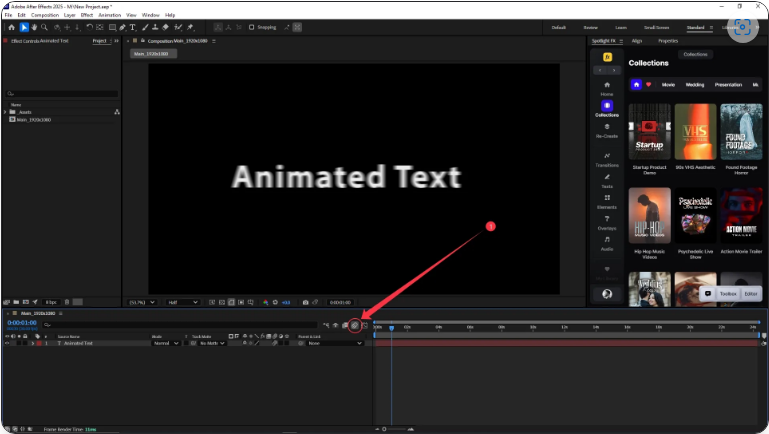
Now, fast-moving elements should display smooth, natural-looking blur.
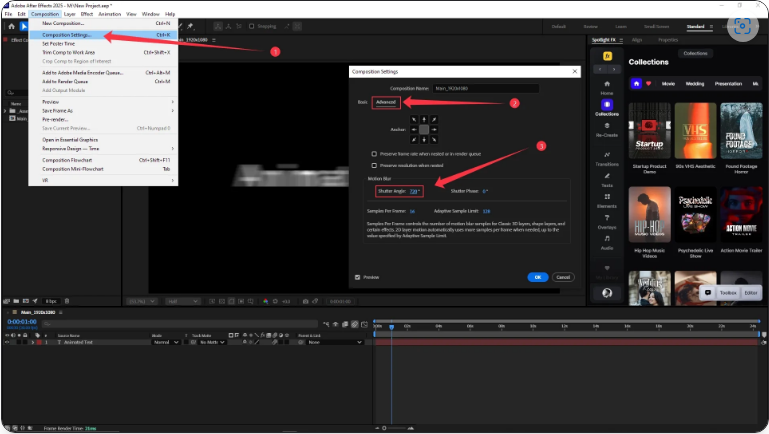
Step 3: Fine-Tune the Shutter Angle (Optional)
Need more or less blur? Adjust the shutter angle to control its intensity.
1. Go to Composition > Composition Settings.
2. Click the Advanced tab.
3. Under Shutter Angle, increase or decrease the value:
● Higher values (180–720) = stronger motion blur.
● Lower values = sharper movement with less blur.
Most animators use 180° (the default) since it closely resembles real-world camera motion, but experiment to find the best look for your project.